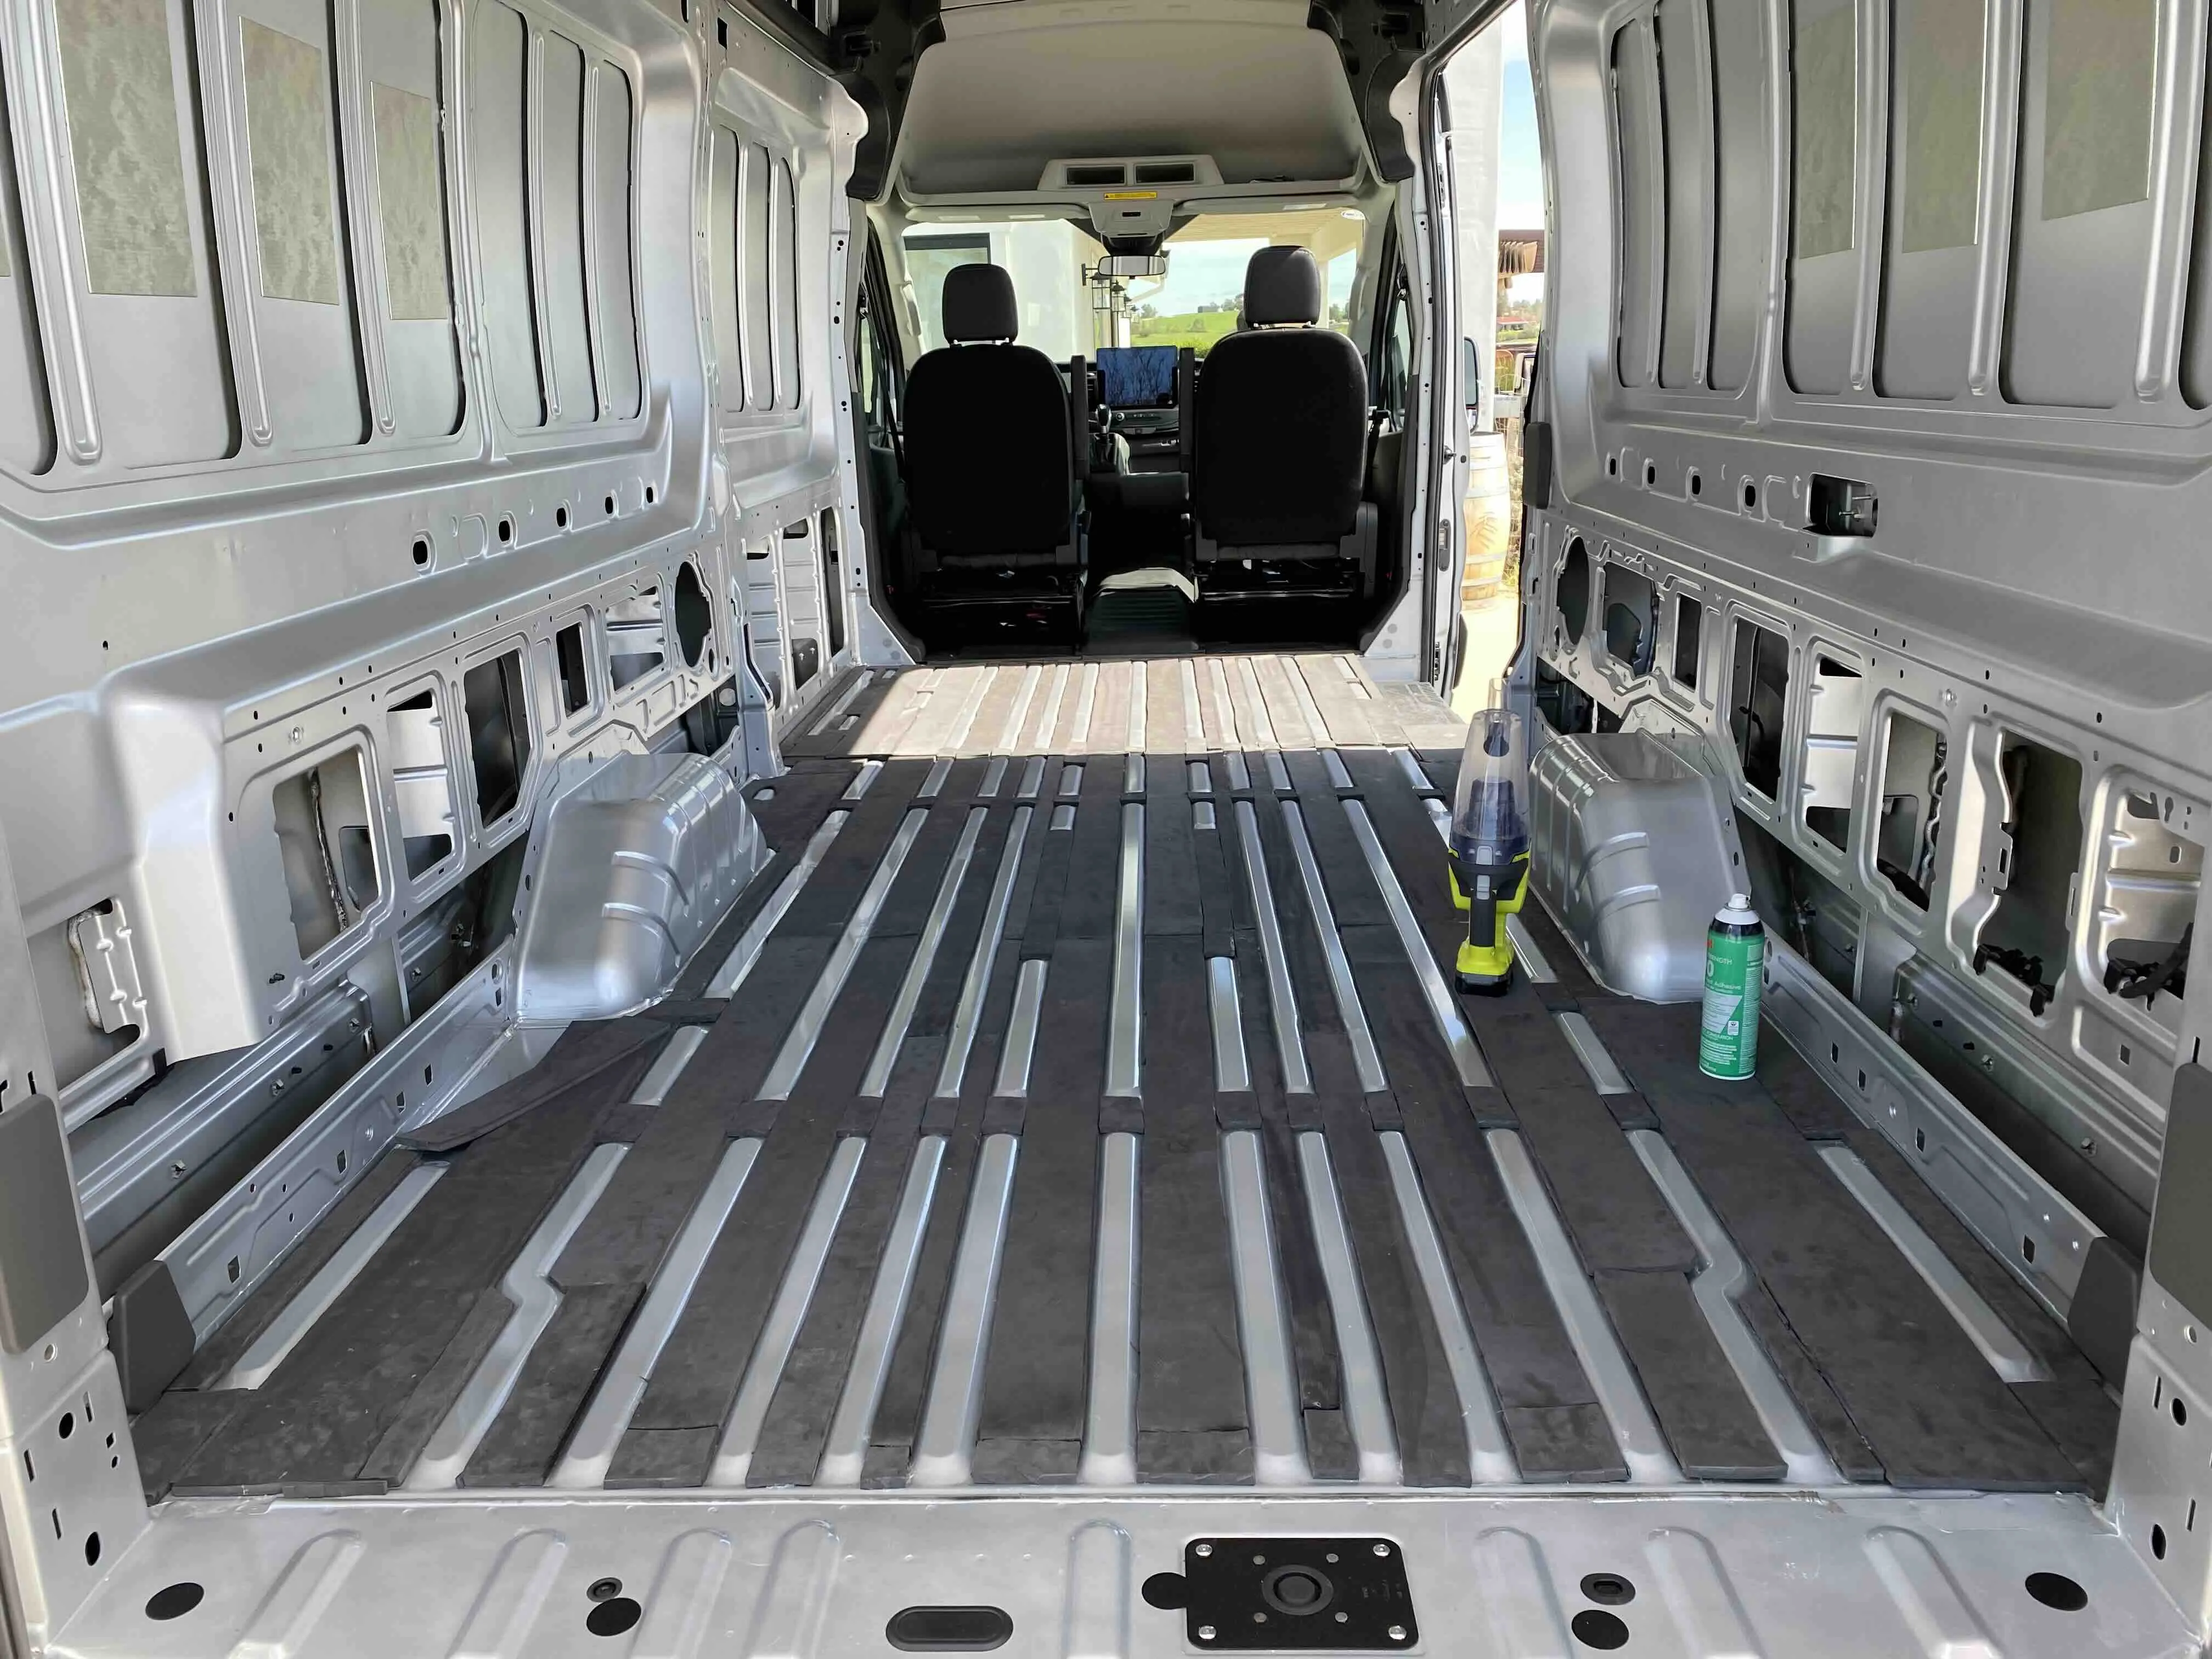
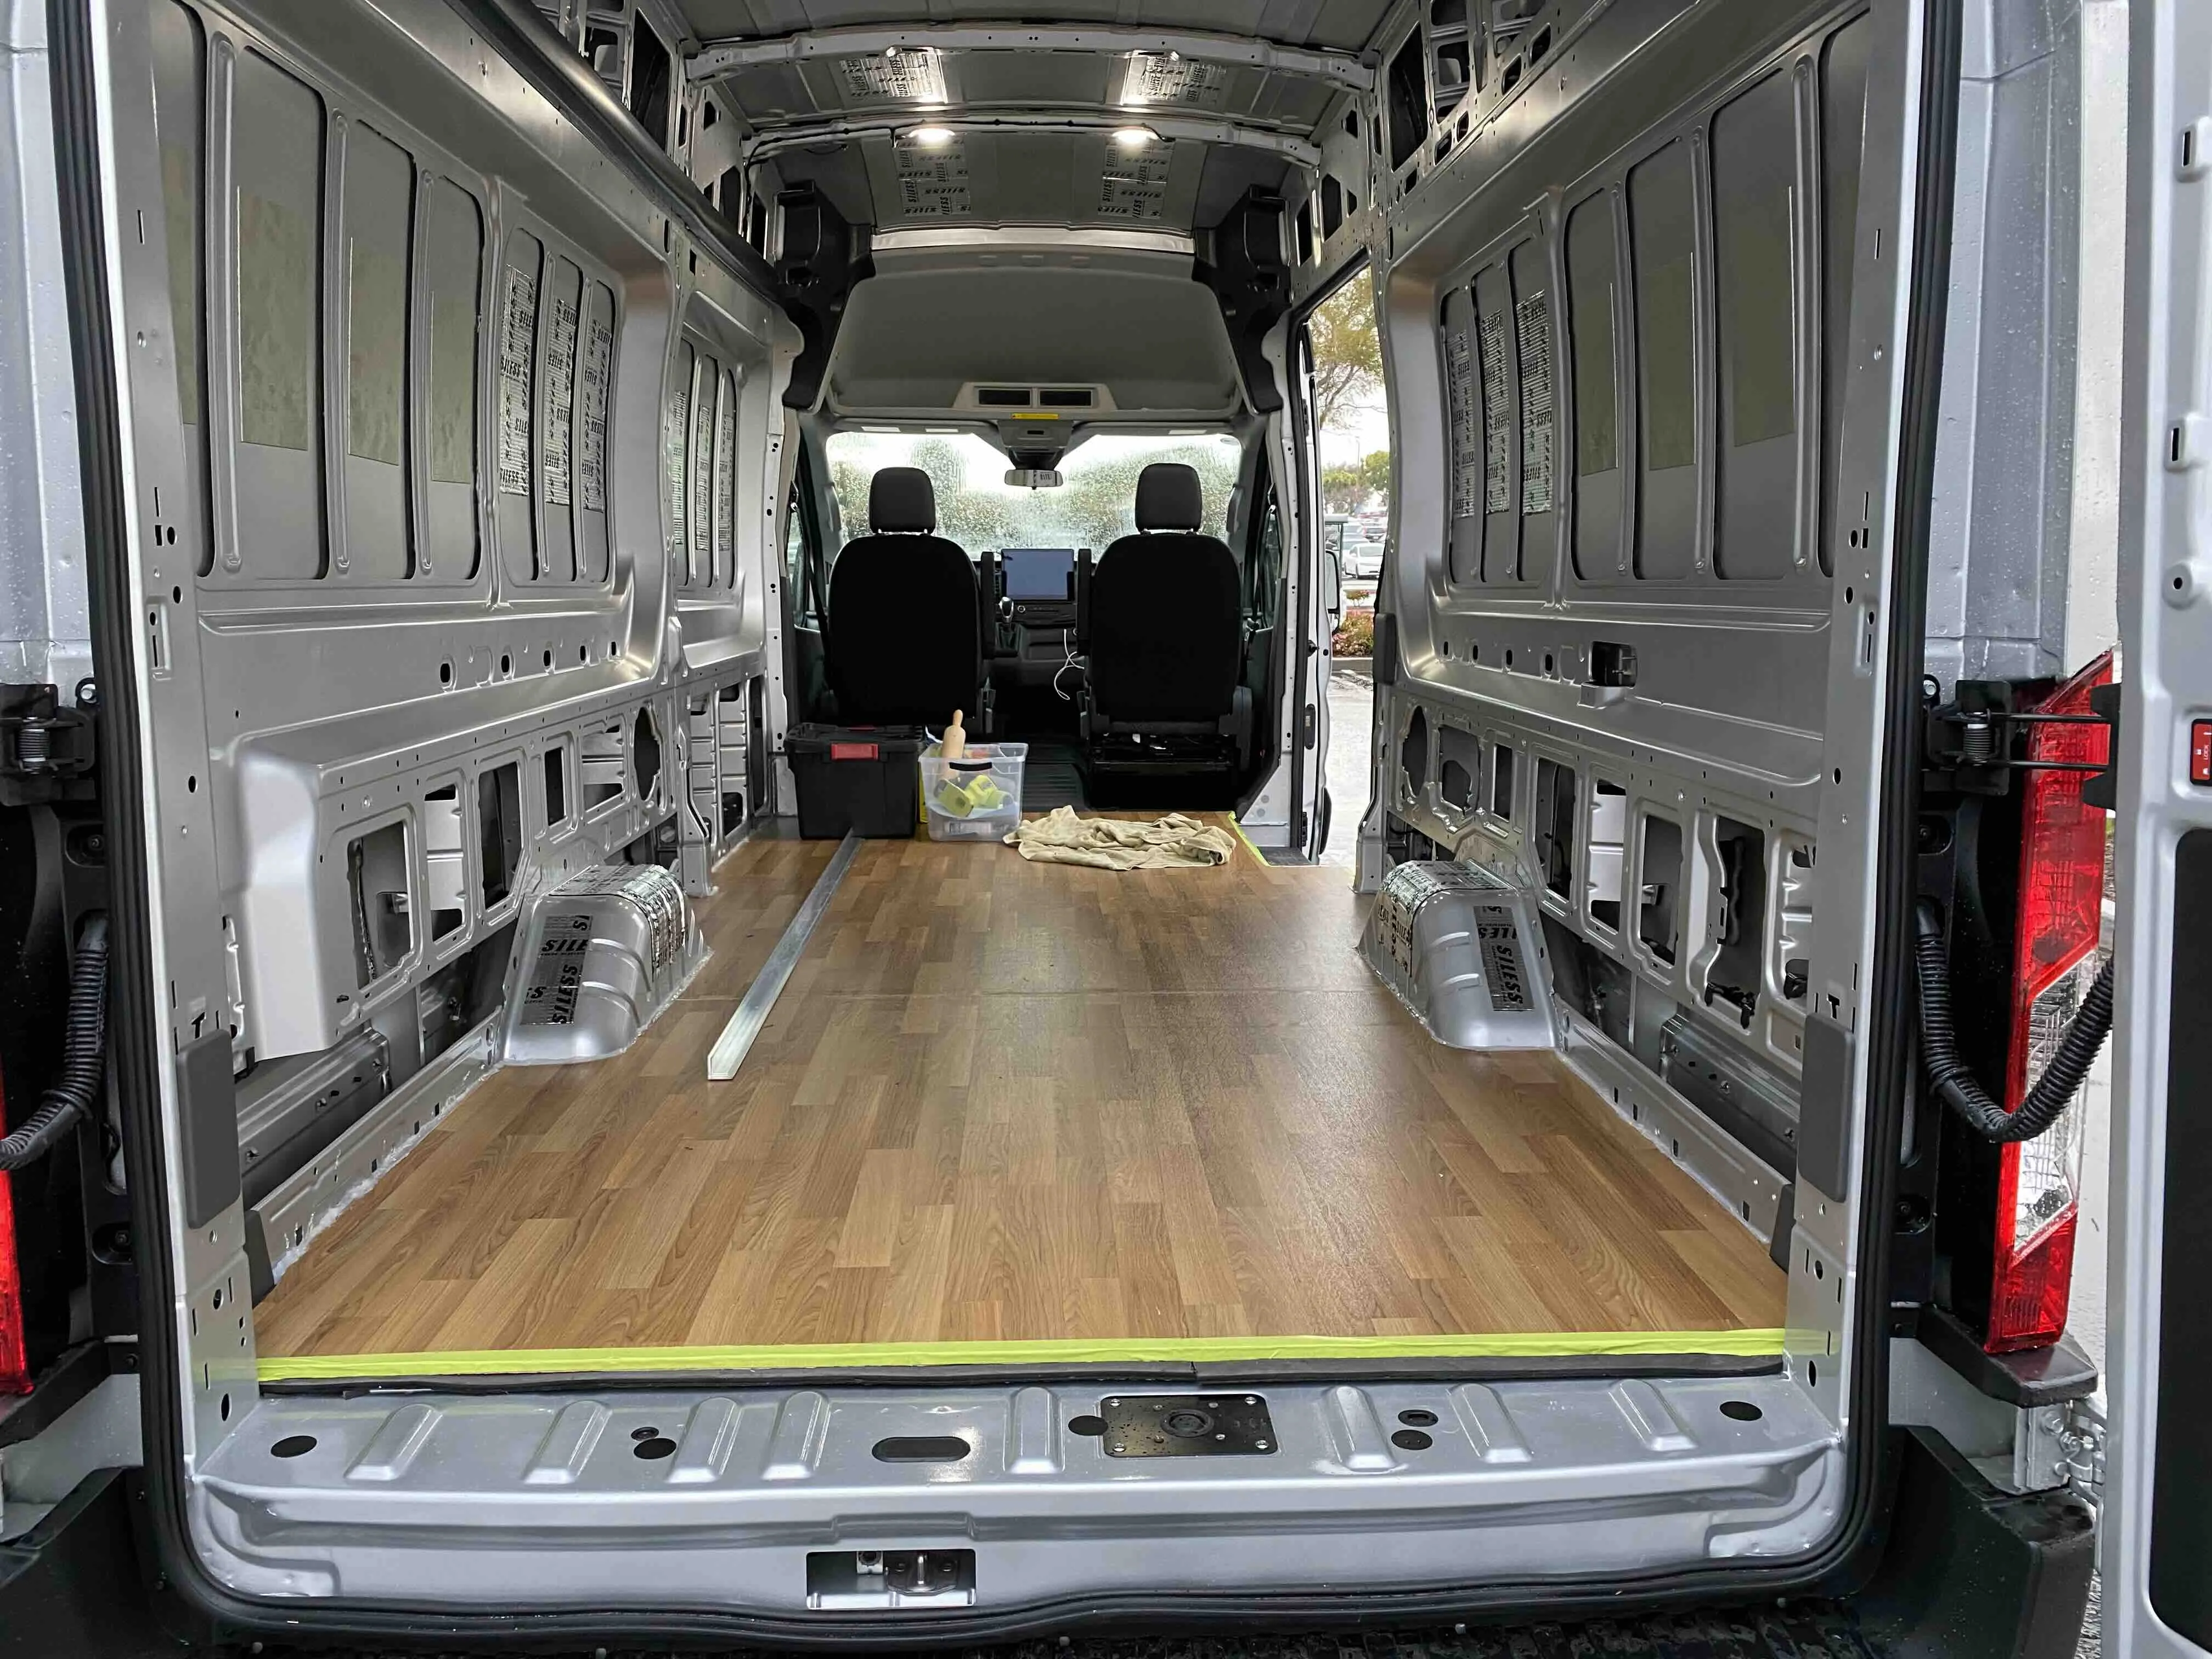
Flooring
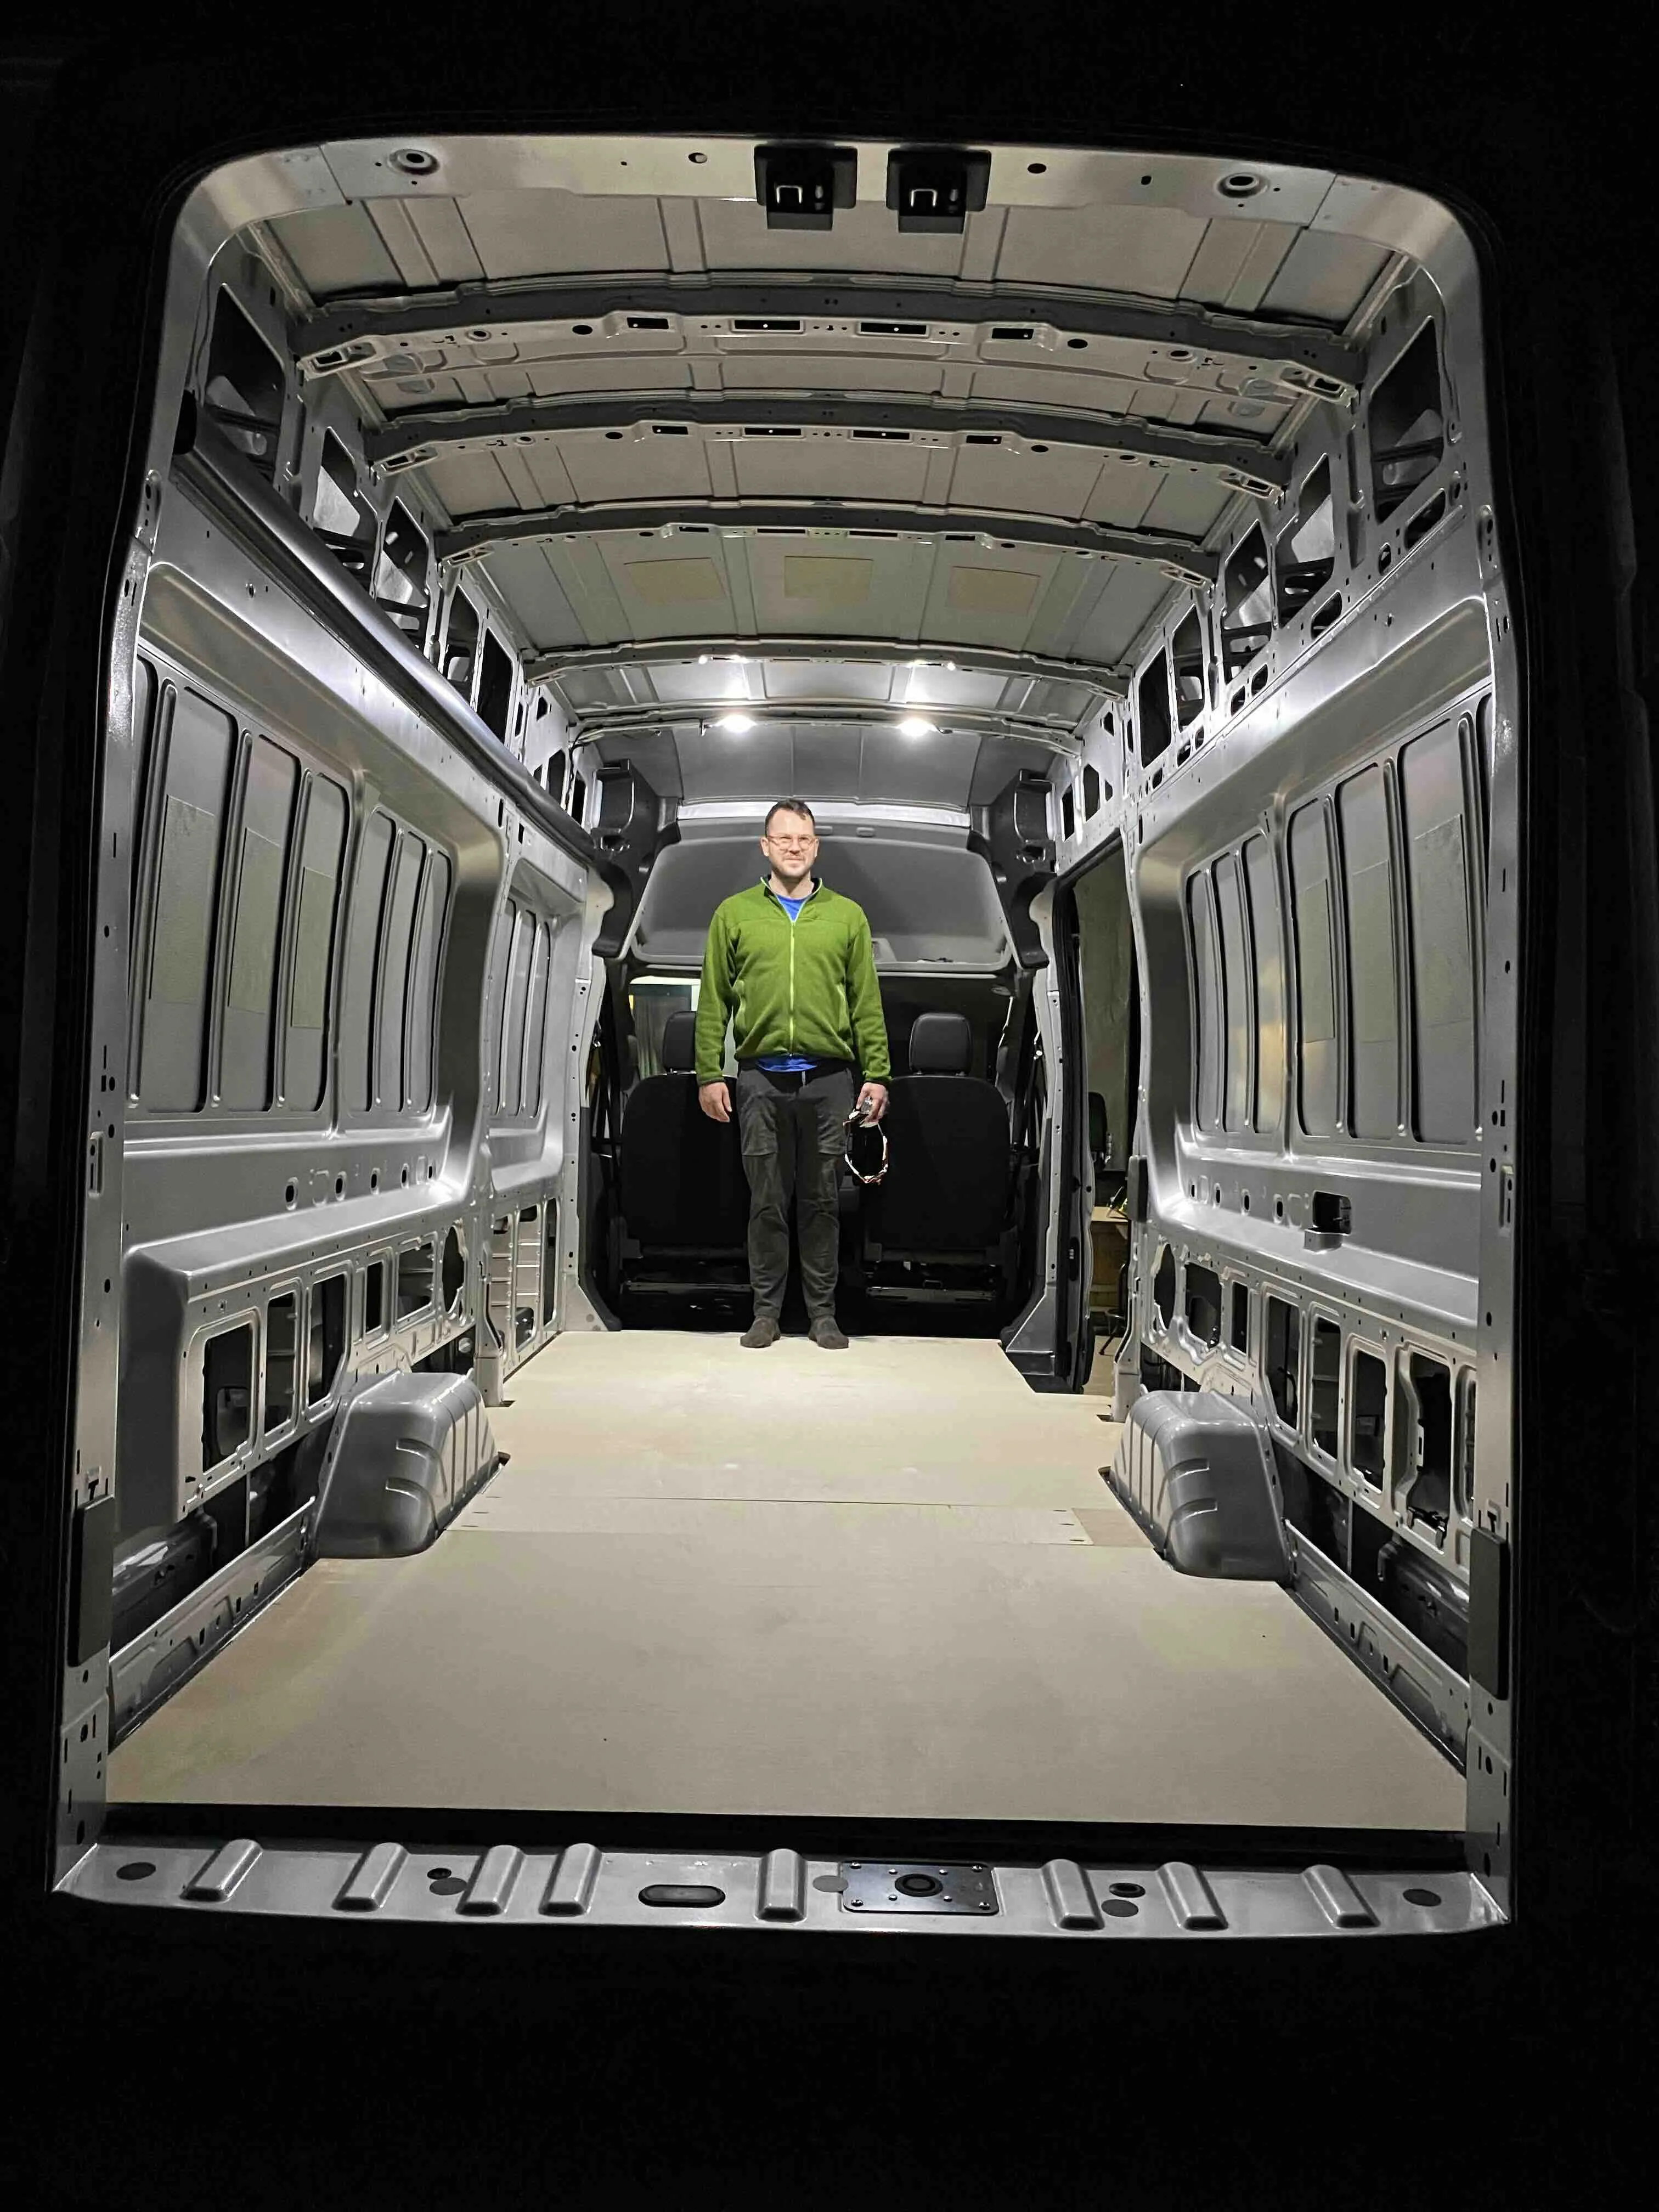
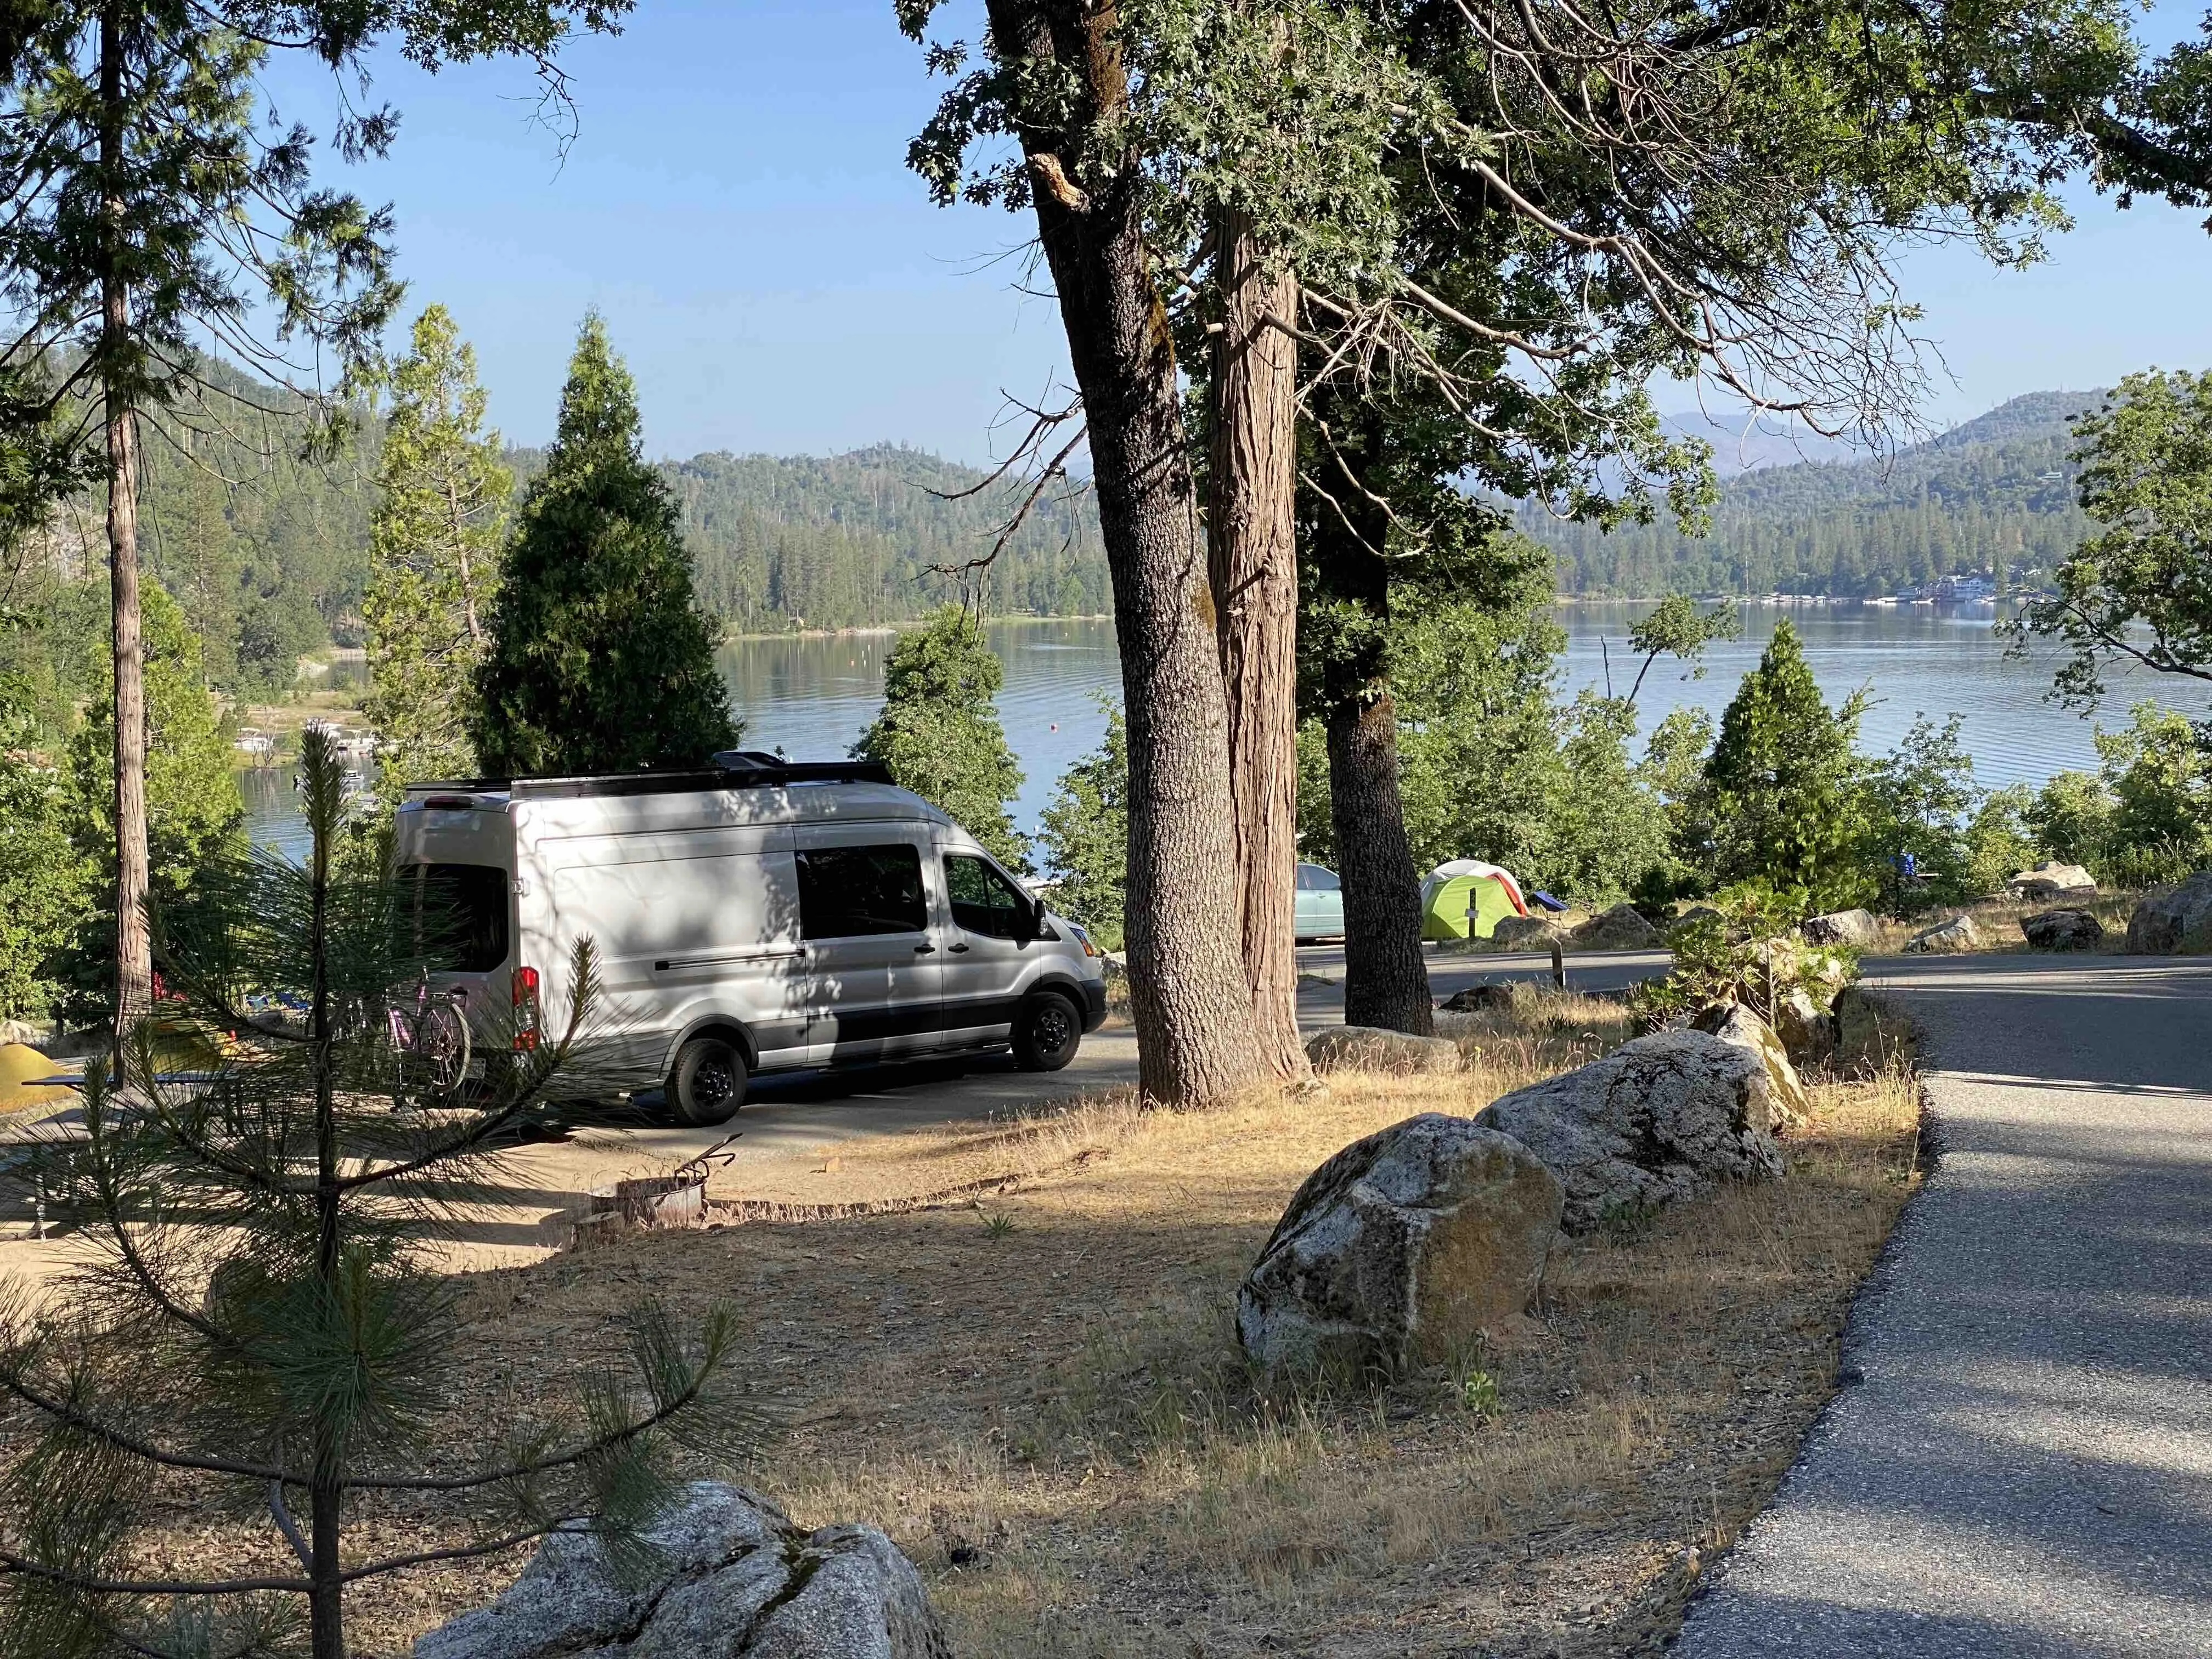
This is an overview of my campervan project. This project sprung out of a unique combination of circumstances both in my personal life and in the world in general. The post-covid boom in remote work availability, technological advancements such as relatively affordable LiFePo4 batteries, and Starlink, along with a sharp spike in mortgage interest rates. Unique to me, two large dogs, a very small and cheap apartment, and no prospects of moving. I can talk about this subject forever, but I'll try to lean on pictures as much as possible in this document. Disclaimer: this is not an instruction manual. It's just a journal. I don't recommend doing any of this. Instead, get a Revel and enjoy your life. This is an ongoing project. It's got mostly everything I need at this point.
This van is not intended to have an expiry date. Within reason, any installation or decision must be subject to revision in the future. This means minimal use of adhesives. Threaded inserts wherever possible. Notable examples of this princple are plywood wall panels as opposed to tongue and groove slats. All furniture affixed with RivNuts rather than screwed in. A floating floor. An fully modular electrical box. This is of course a compromise. It's significantly harder to implement and in my case resulted in a generally less robust buildout.
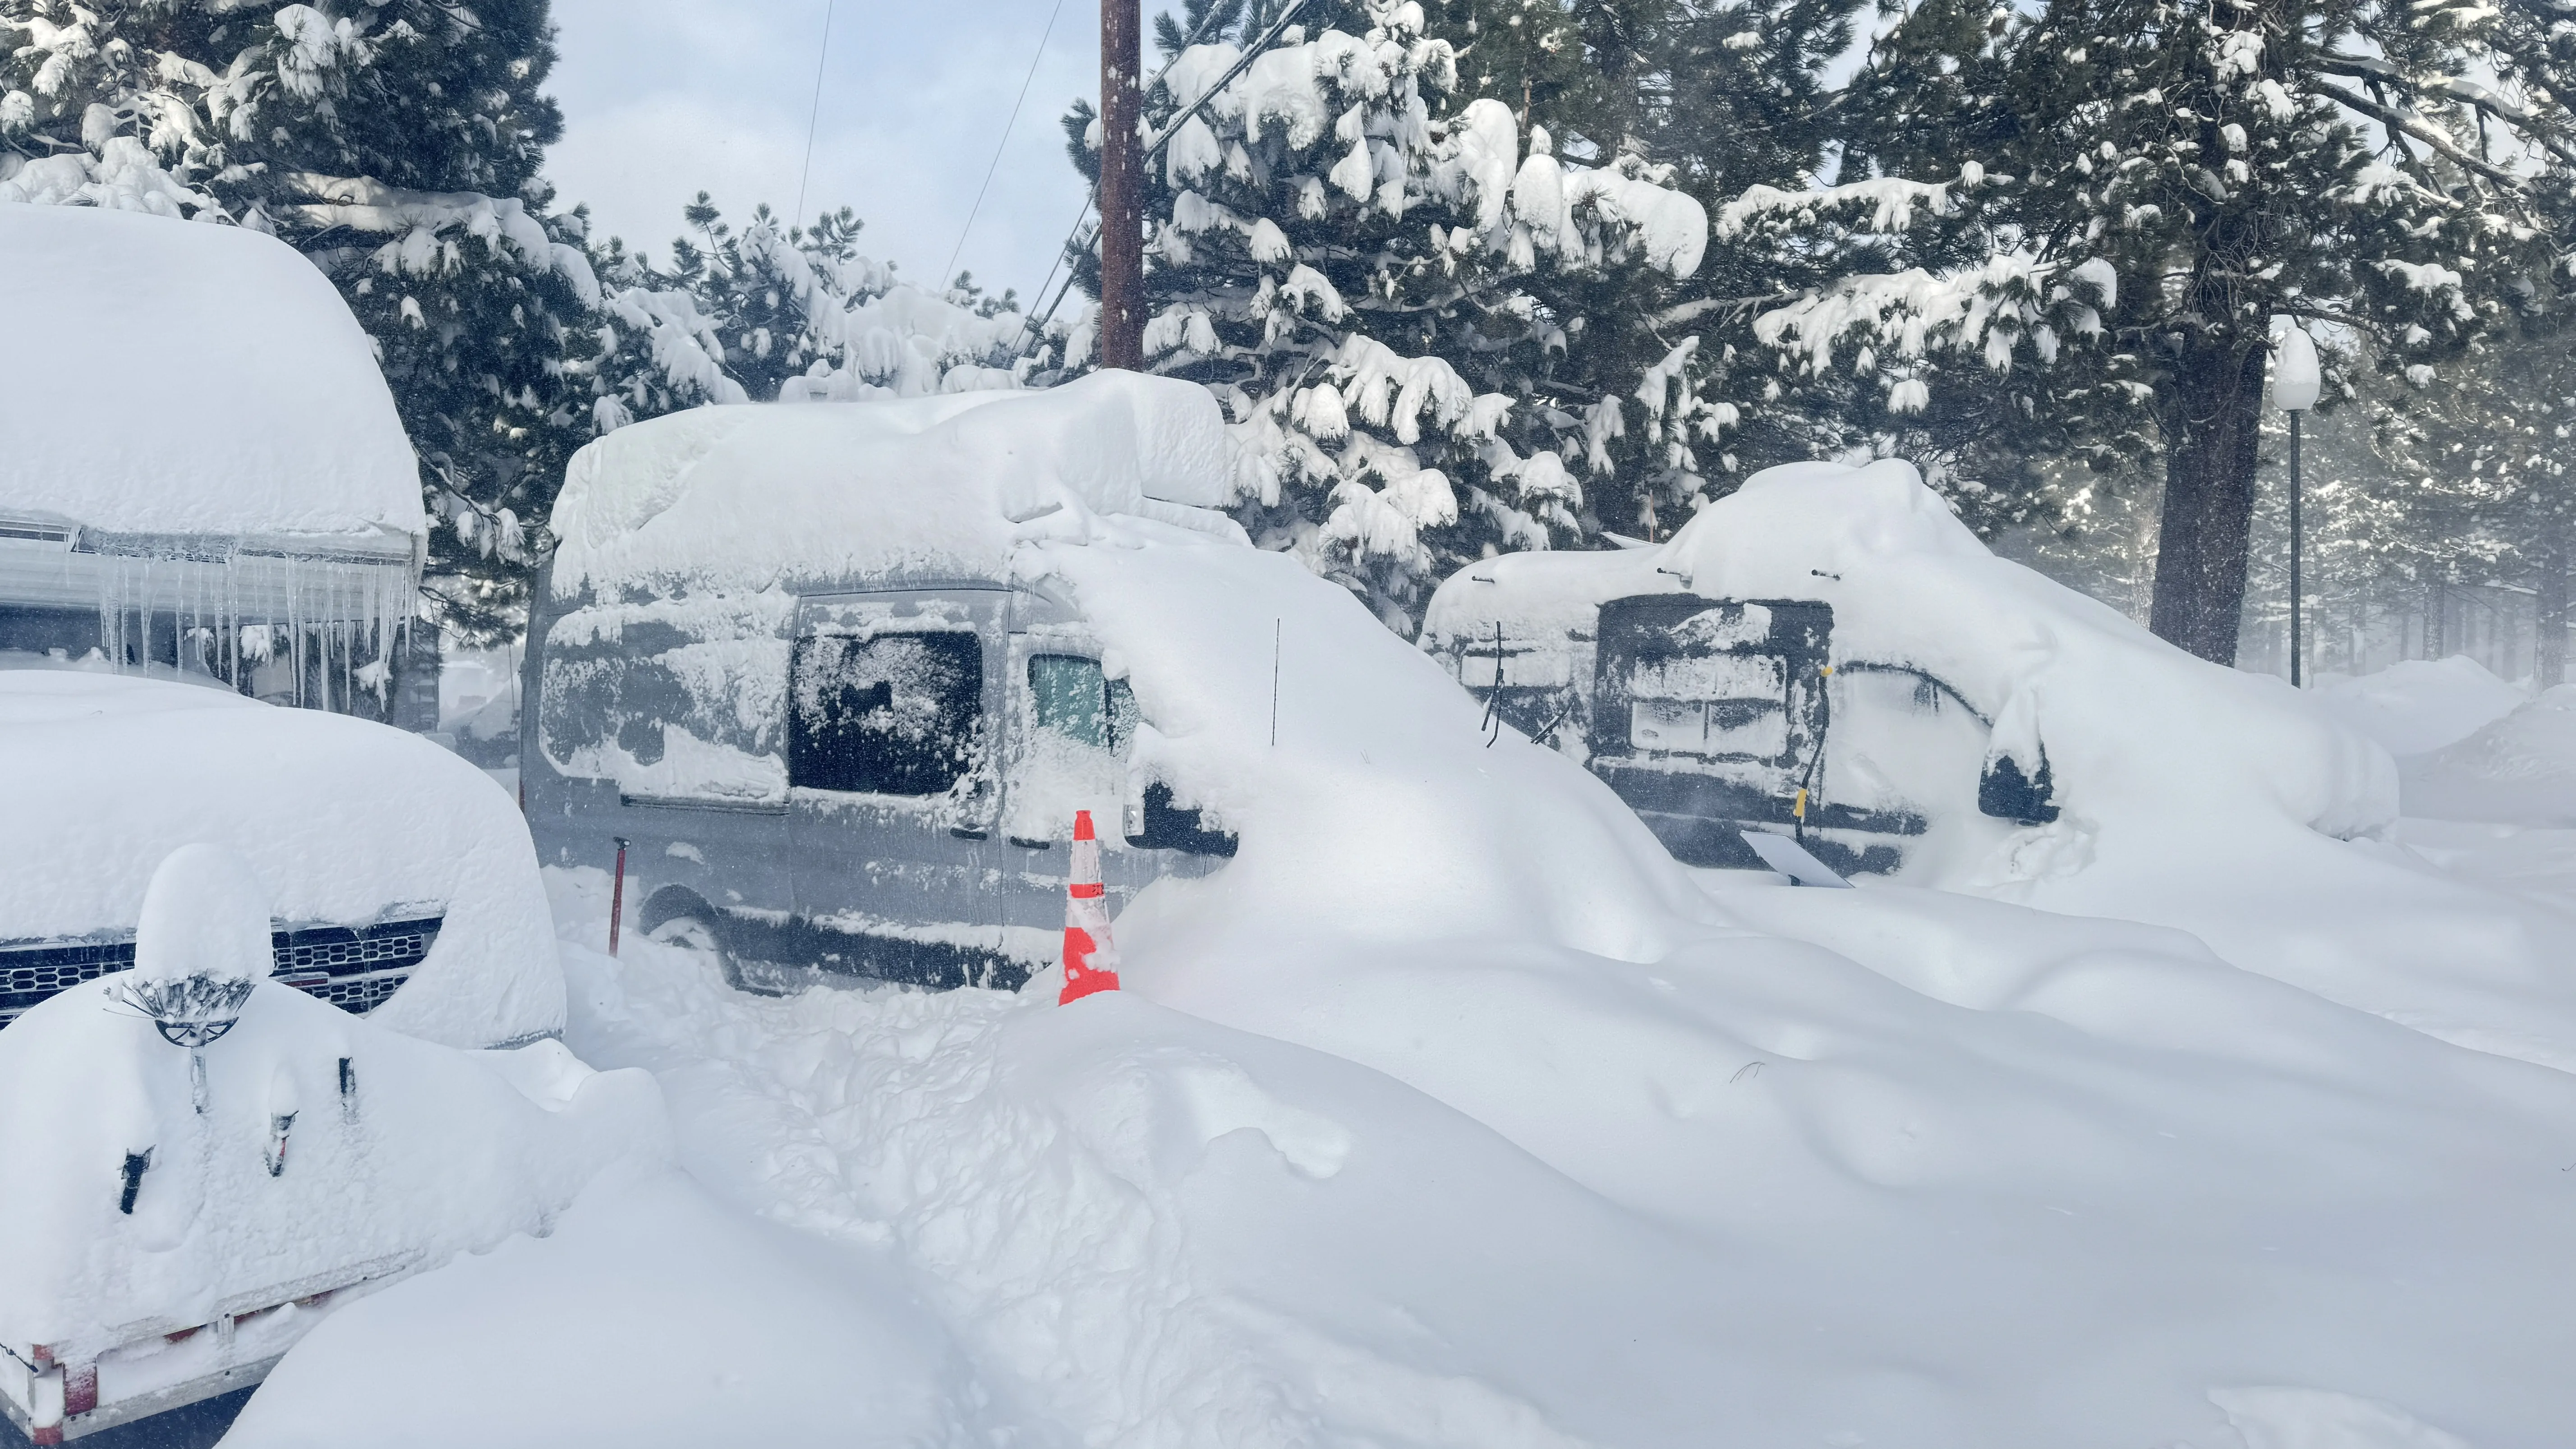
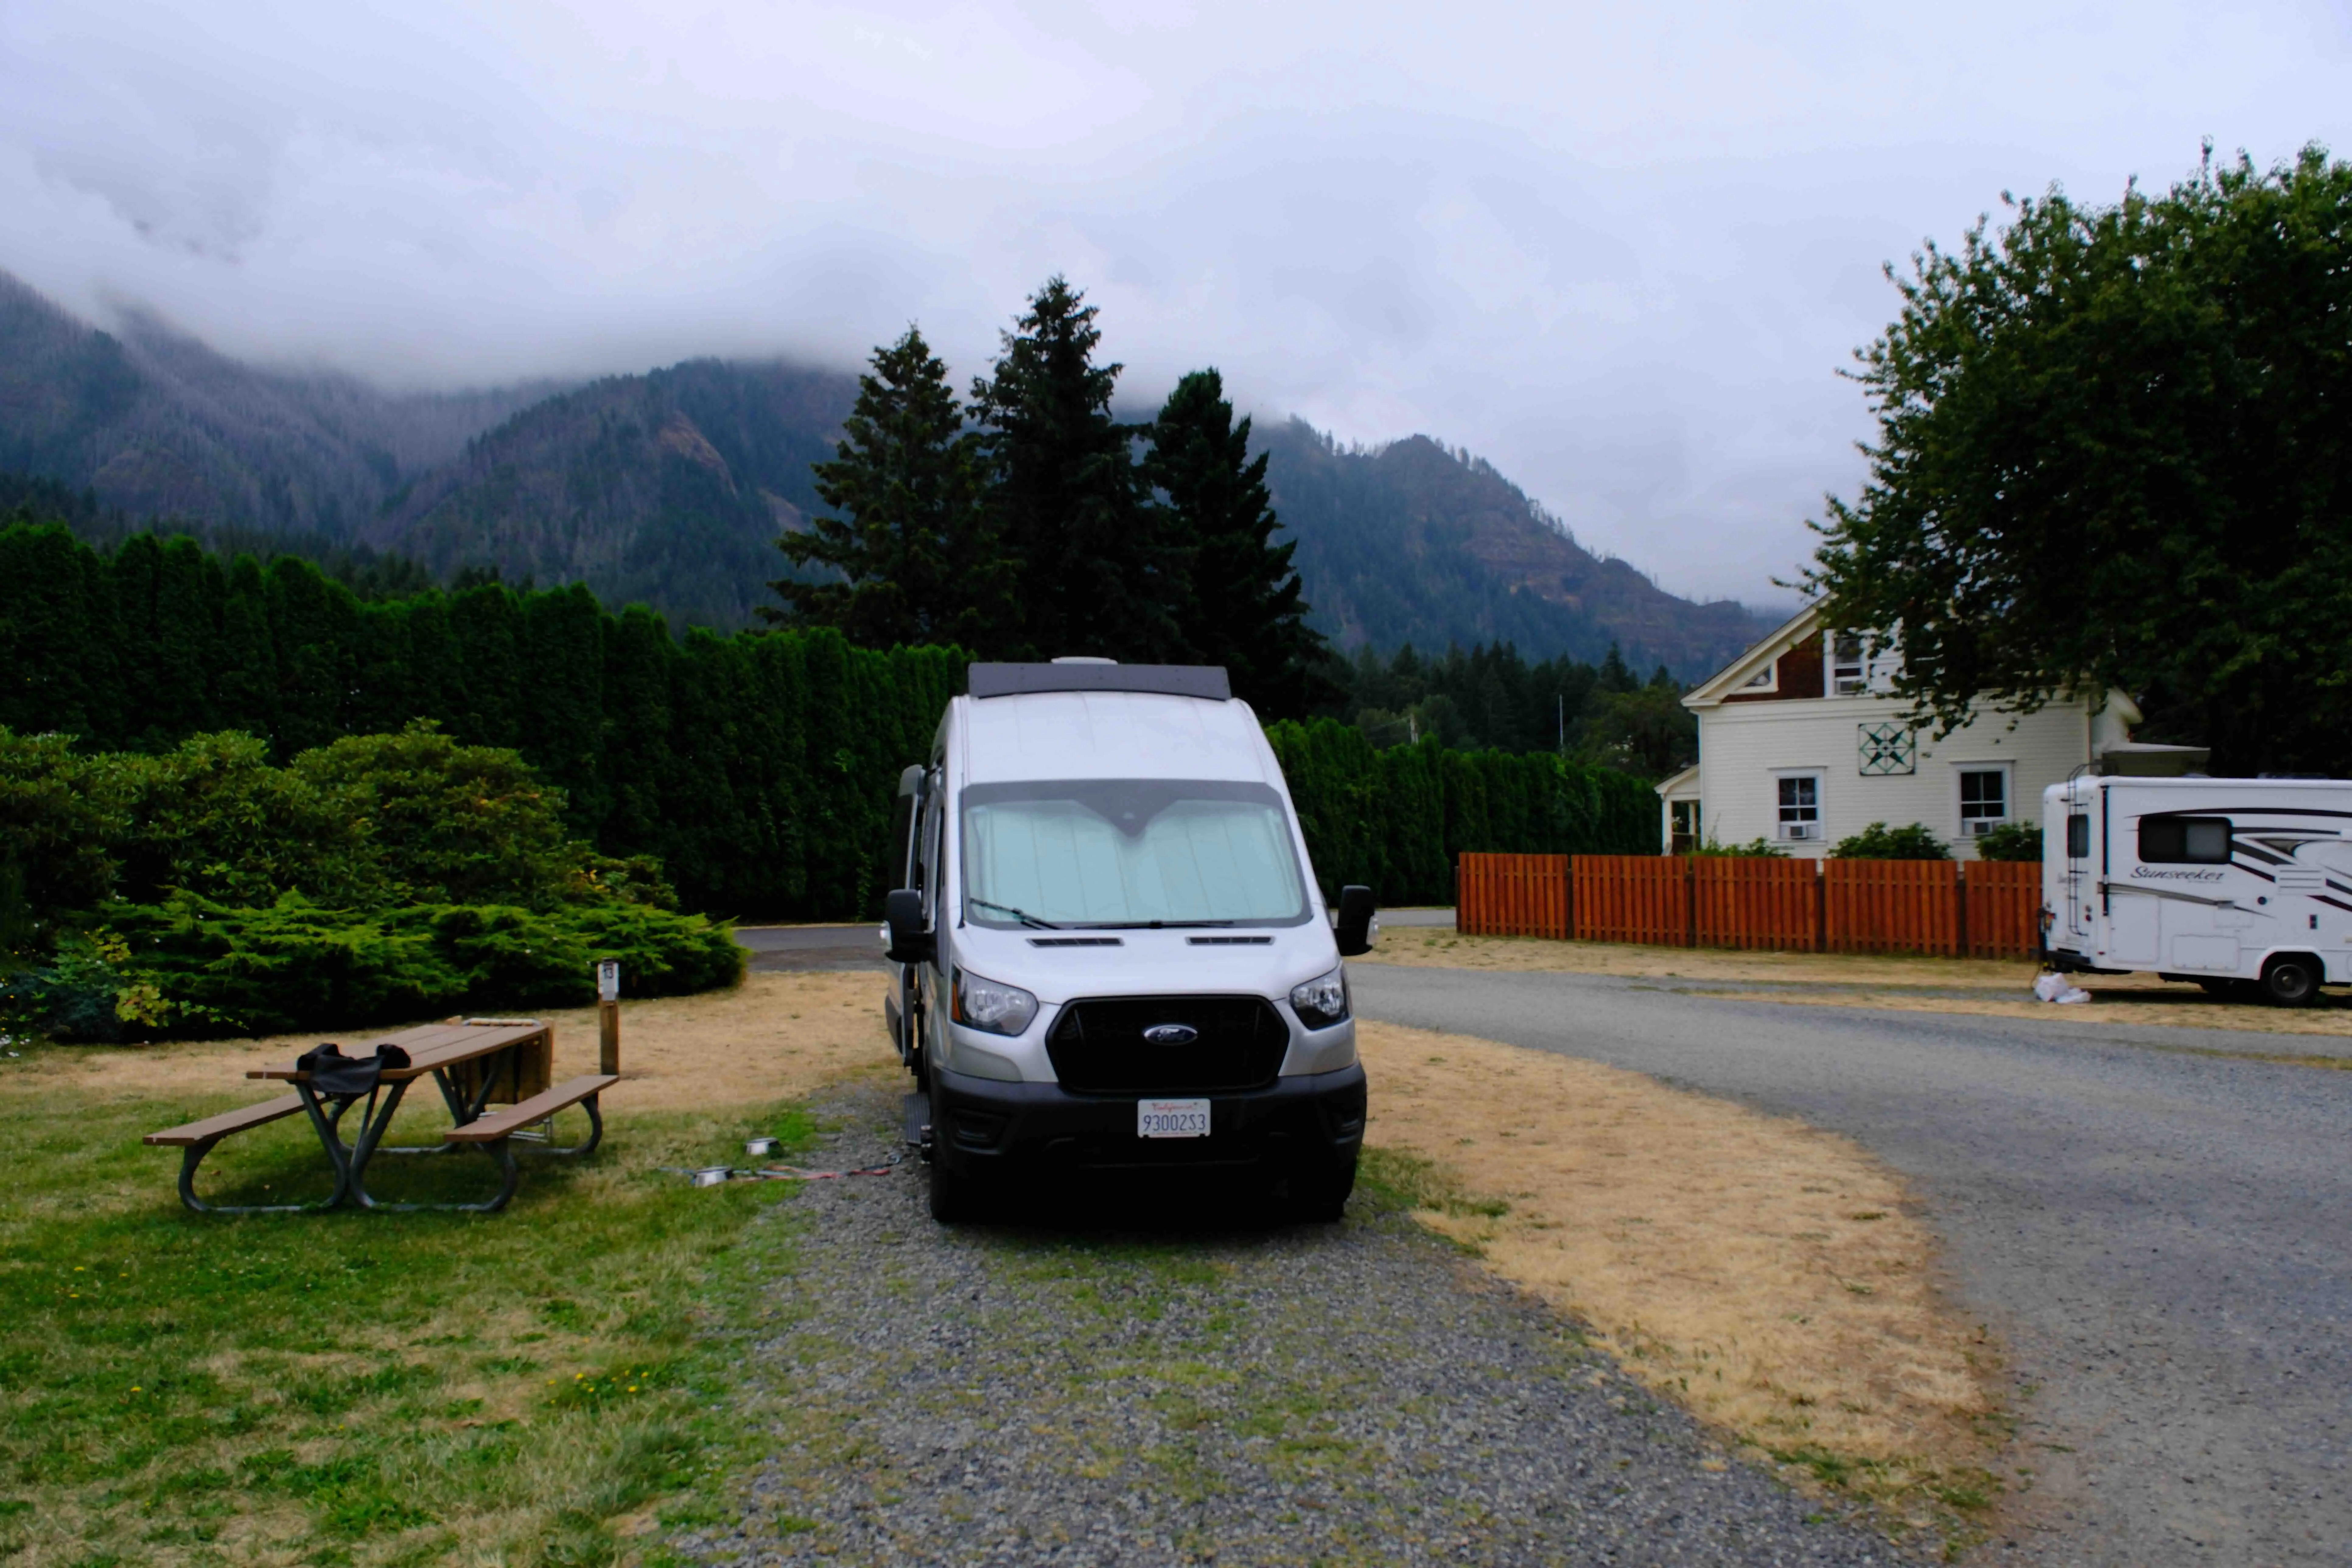
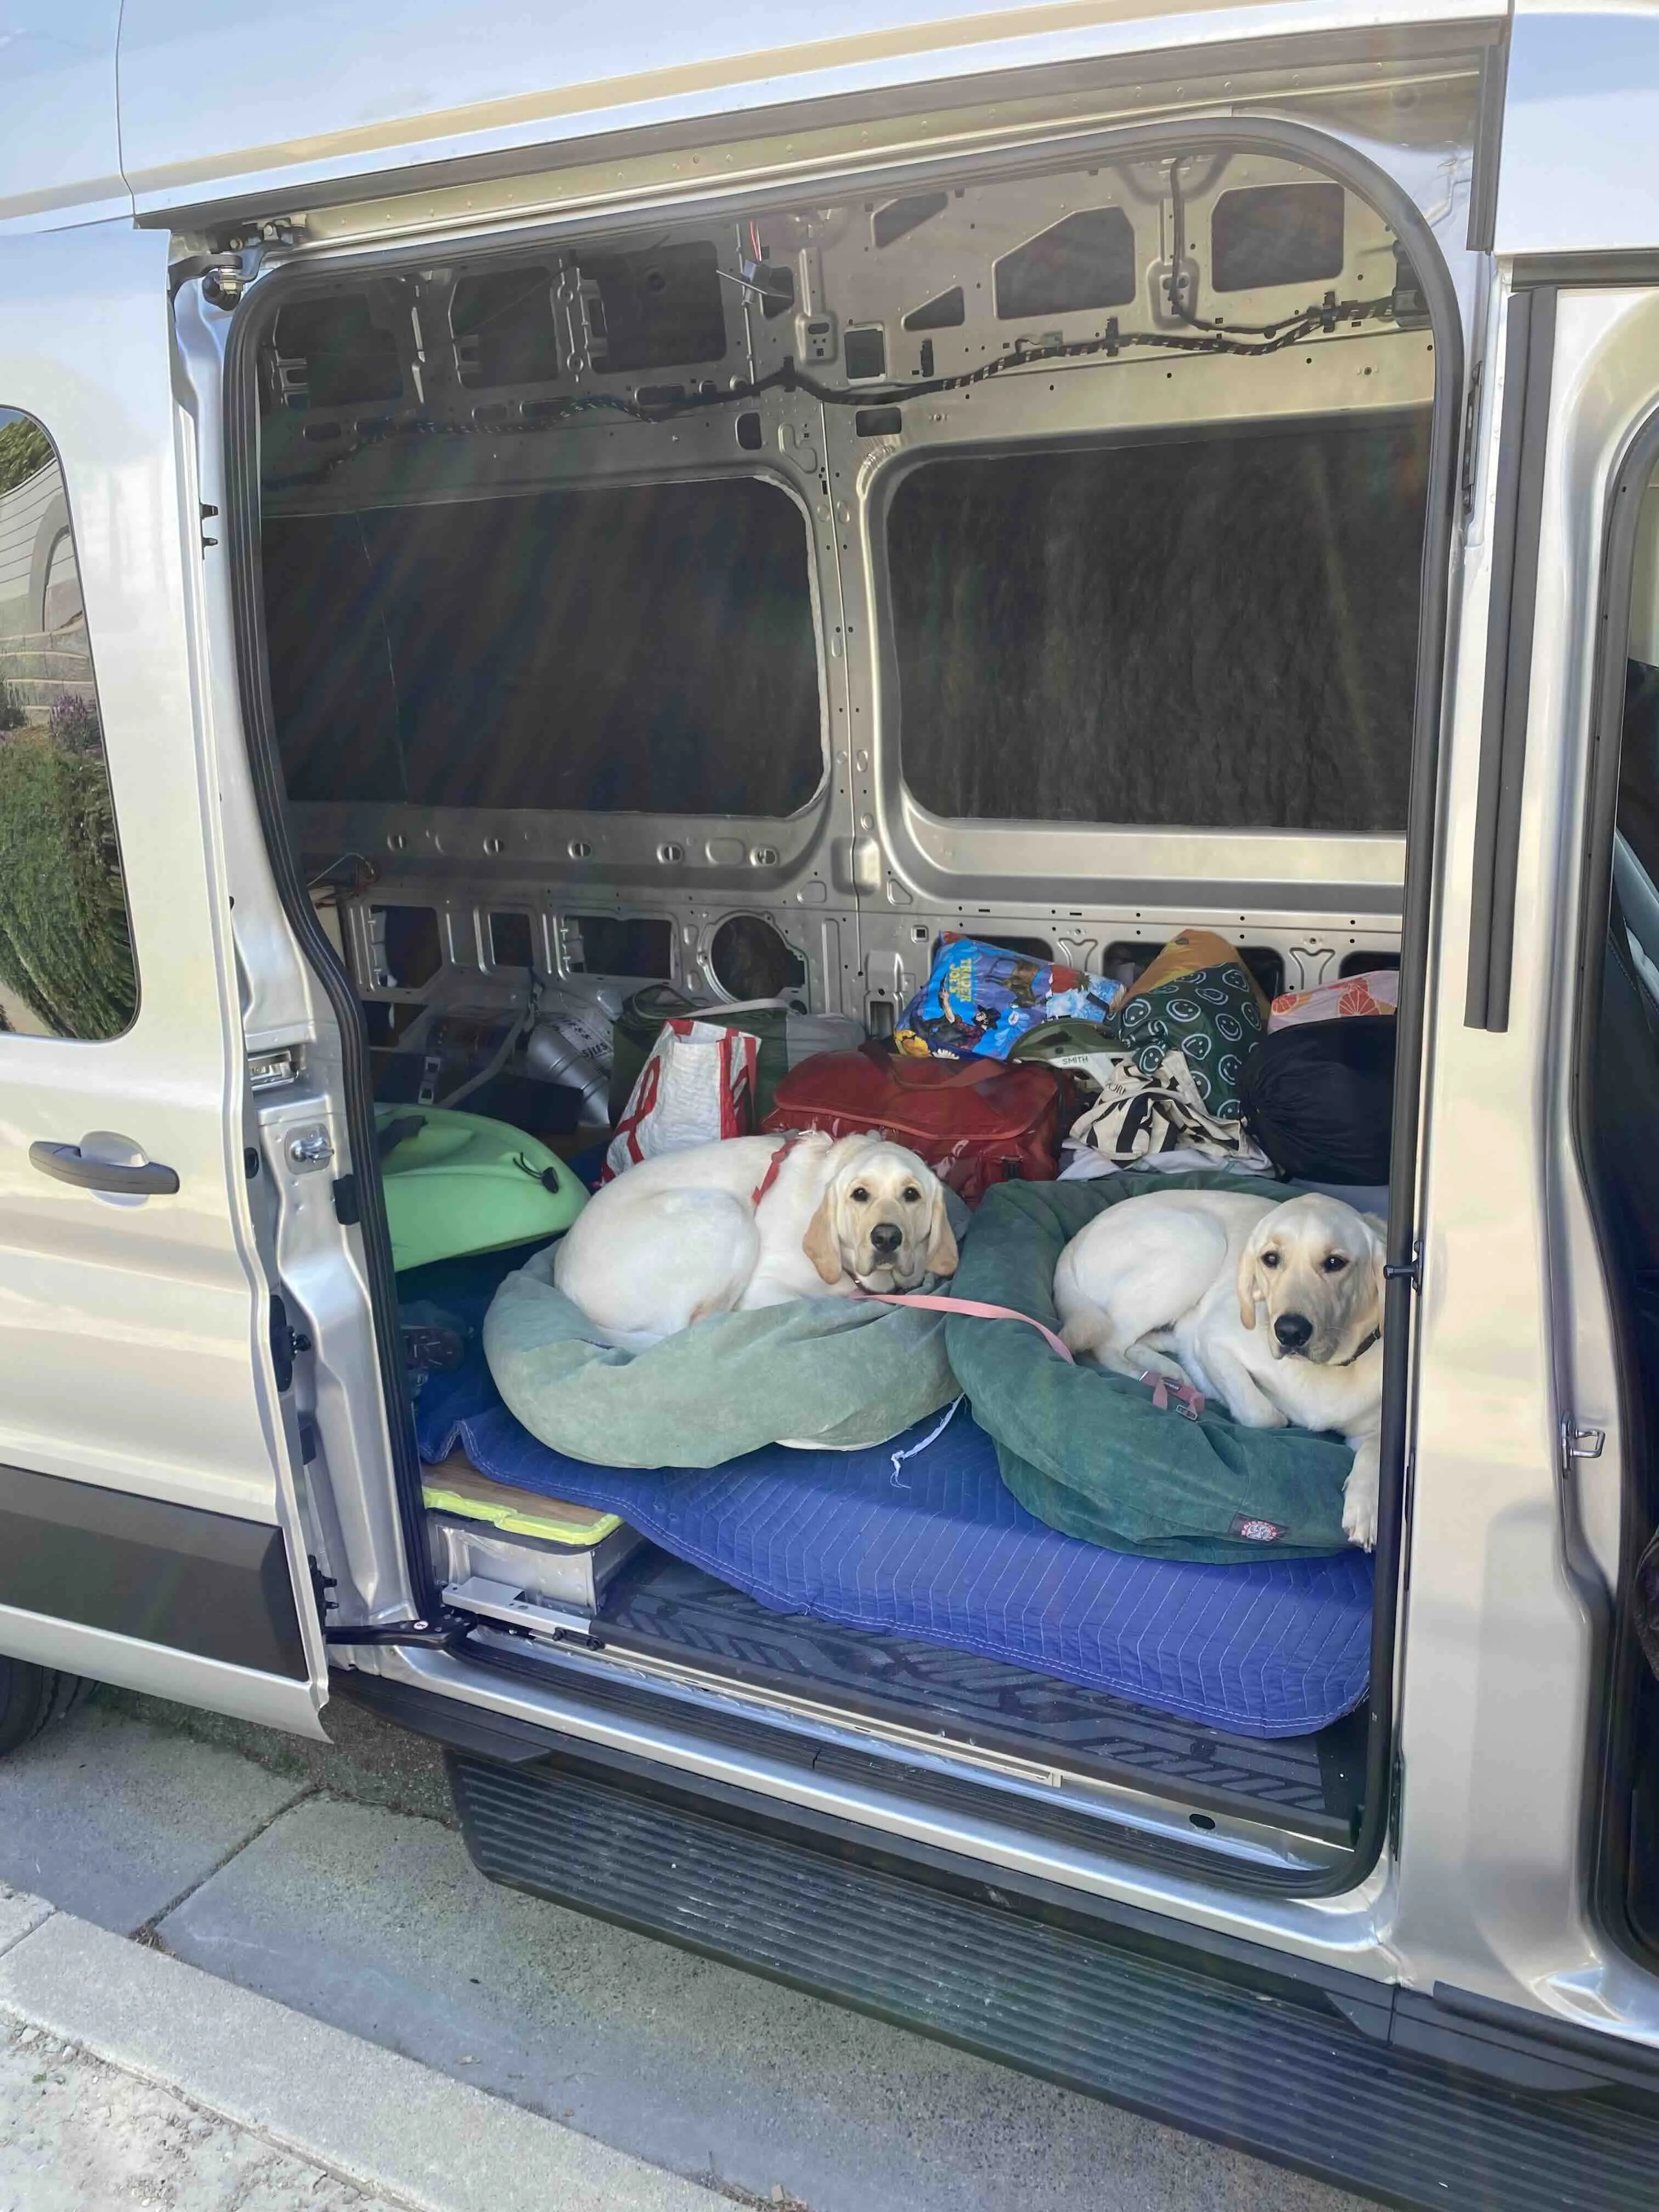
Traveling with the van, while under construction, made it bearable and made every new feature all the more exciting.
Building the van involved a ton of research. It would have turned out 1000% worse without incredible free resources like https://faroutride.com and explorist.life. I highly recommend checking these both out if you're somehow reading this without having come across those two sites. Another incredible resource was the local makerspace, https://www.slomakerspace.com.
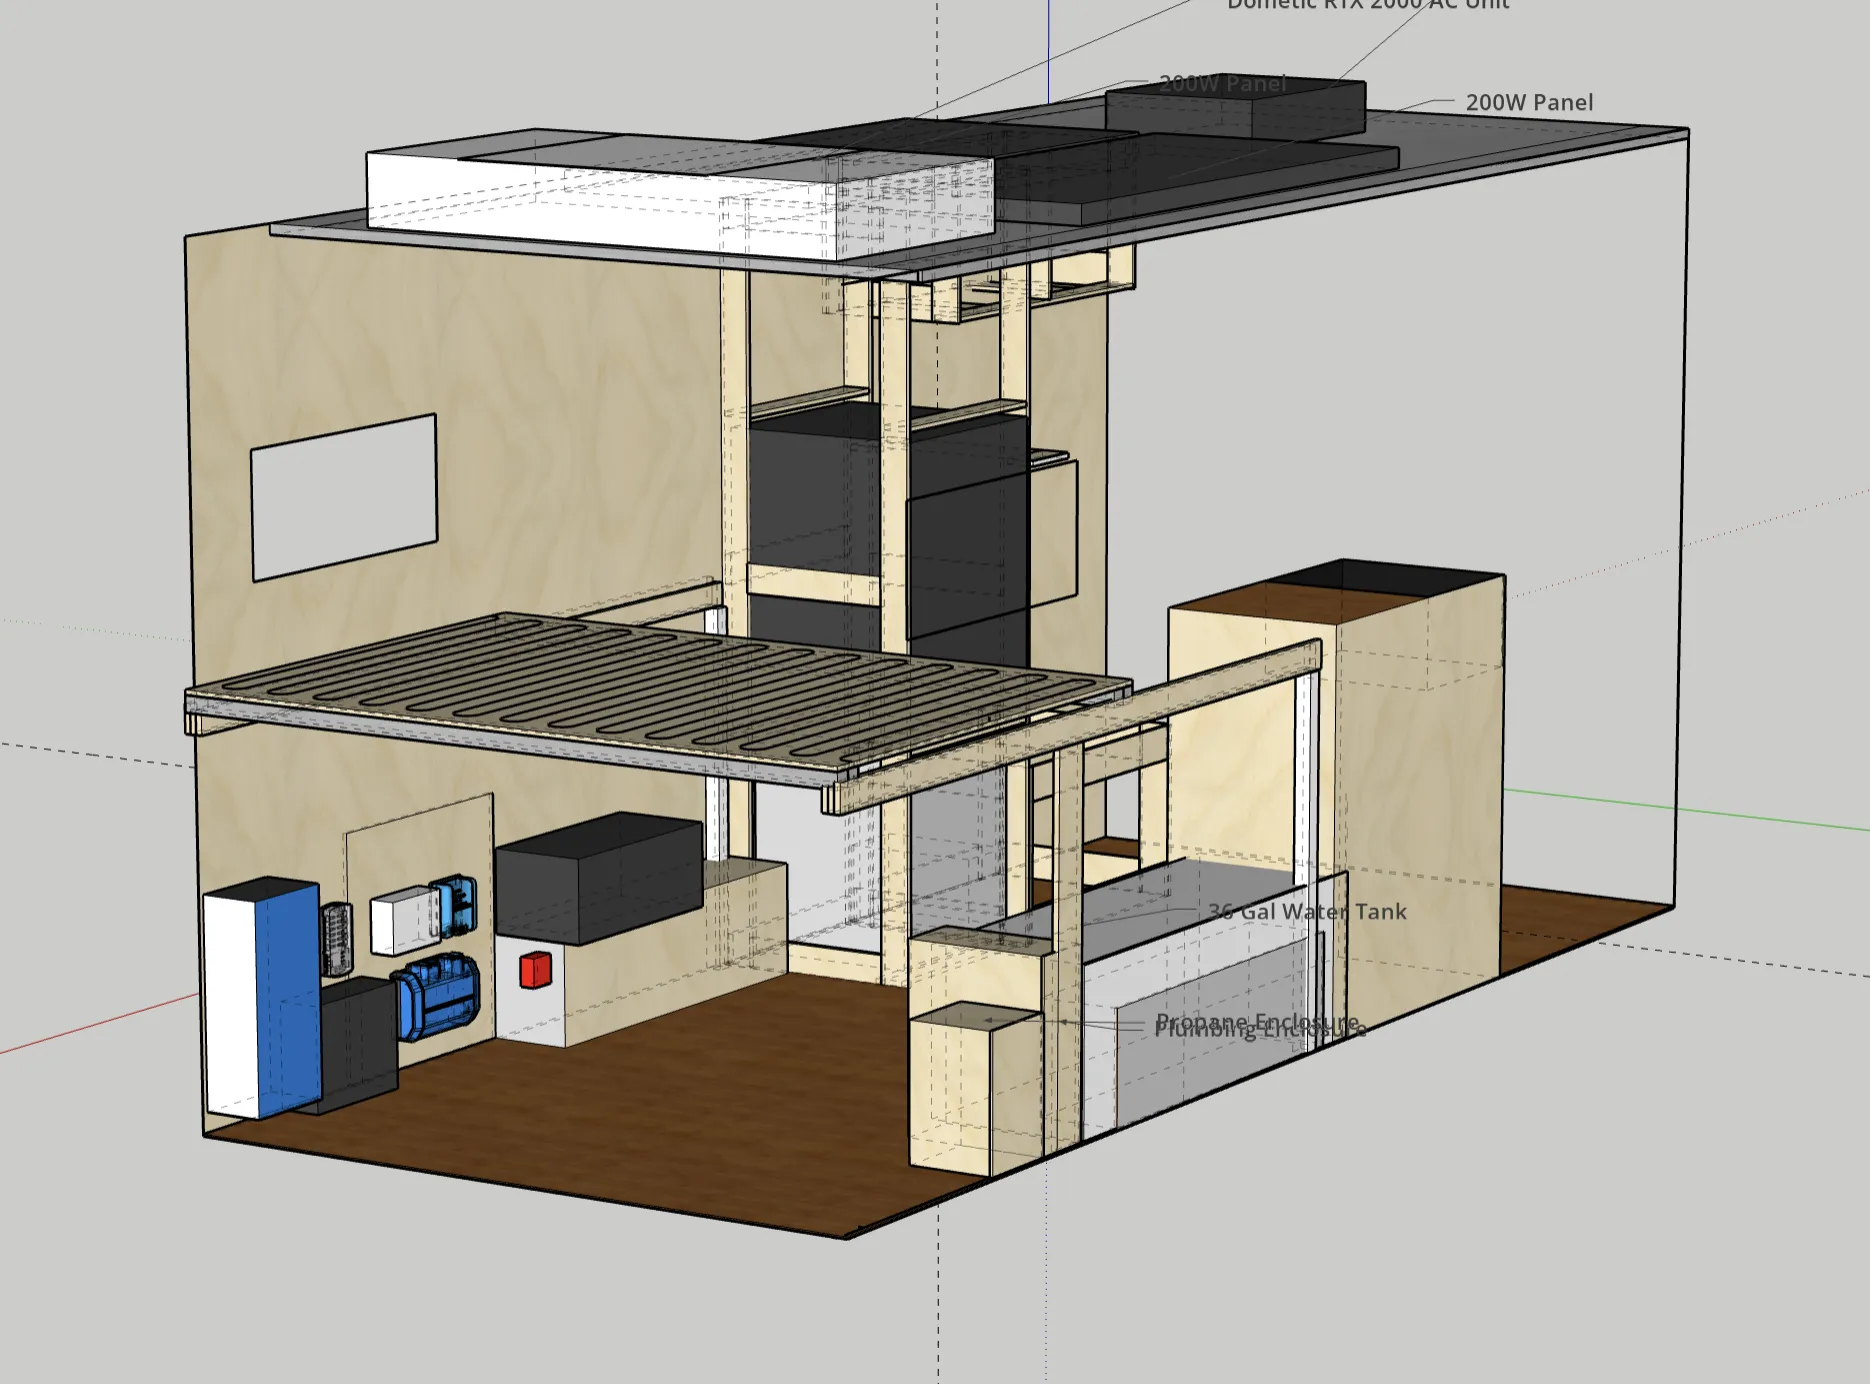
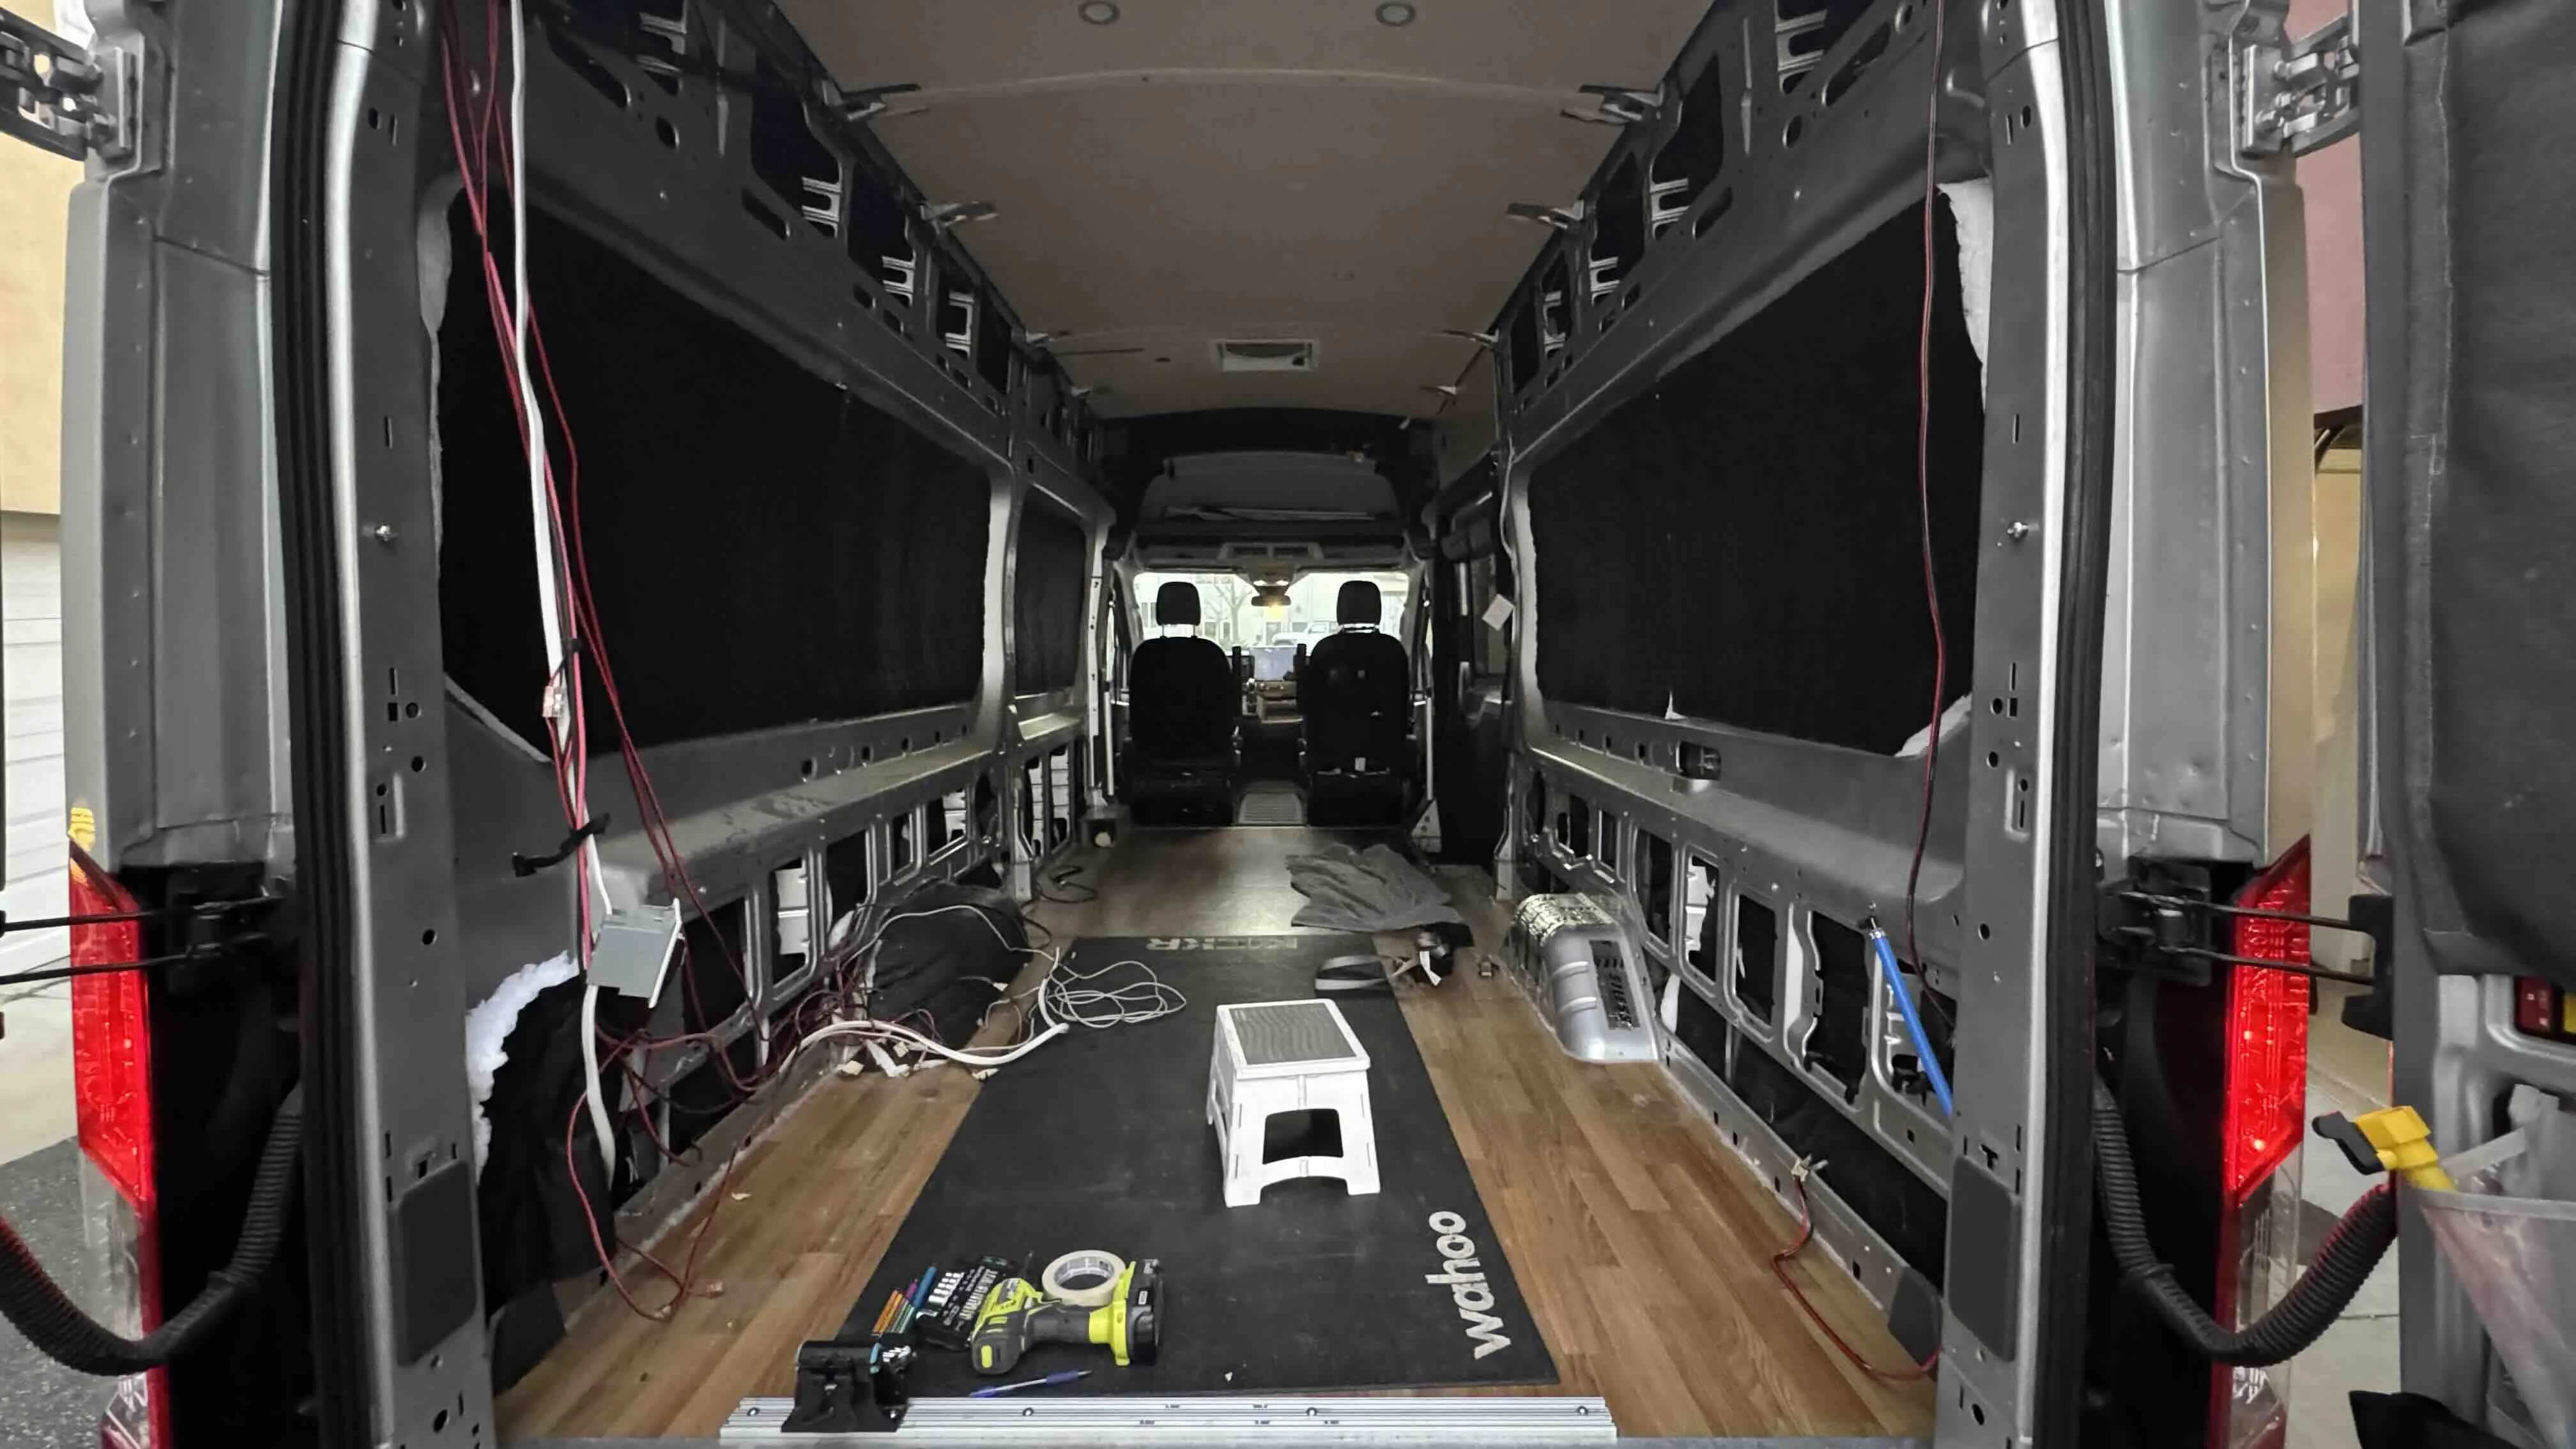
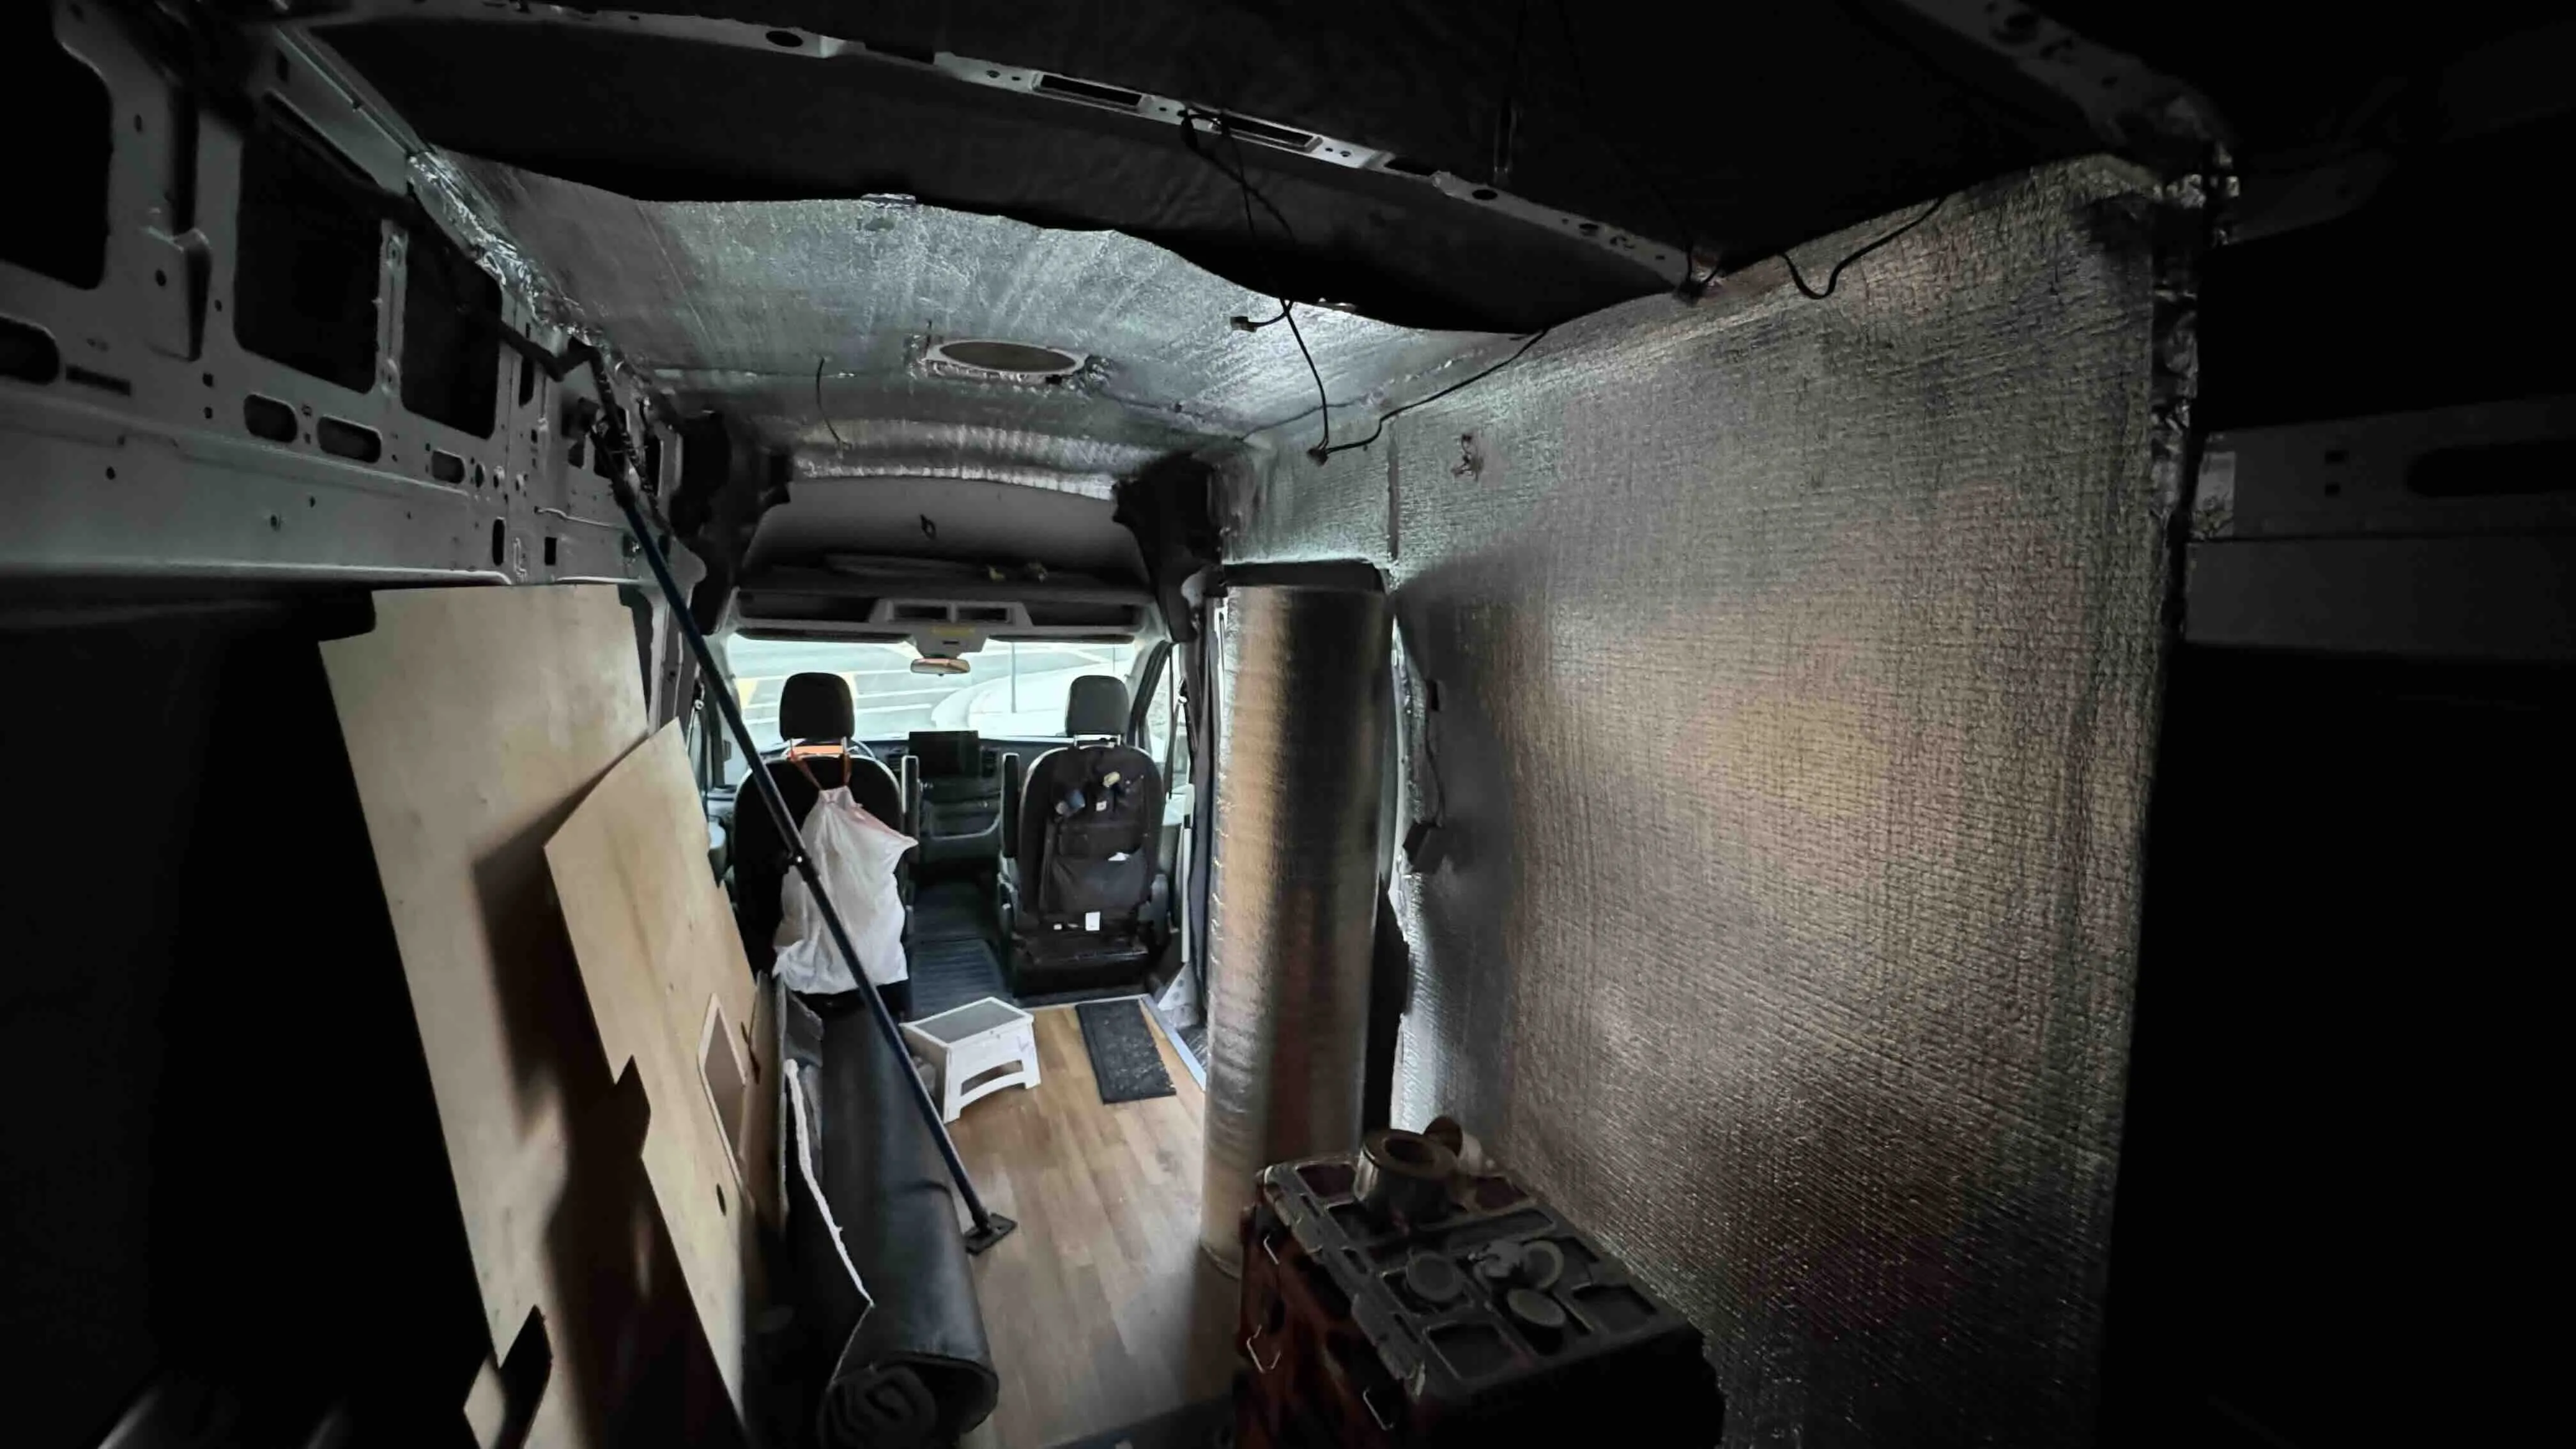
The insulation consists of 3M thinsulate. The insulation took two revisions. The second revision added a layer of Low-E insulation that I should've had originally, but thought I didn't need. It helps significantly with drafts, and cuts down on any squeaks introduced by the wall panel plywood on body metal contact. This second revision was completed January 2025, nearly two years after the original build started. I had to fully gut the van and completely remove everything to re-insulate and I finally put the nothing-permanent principle to the test.
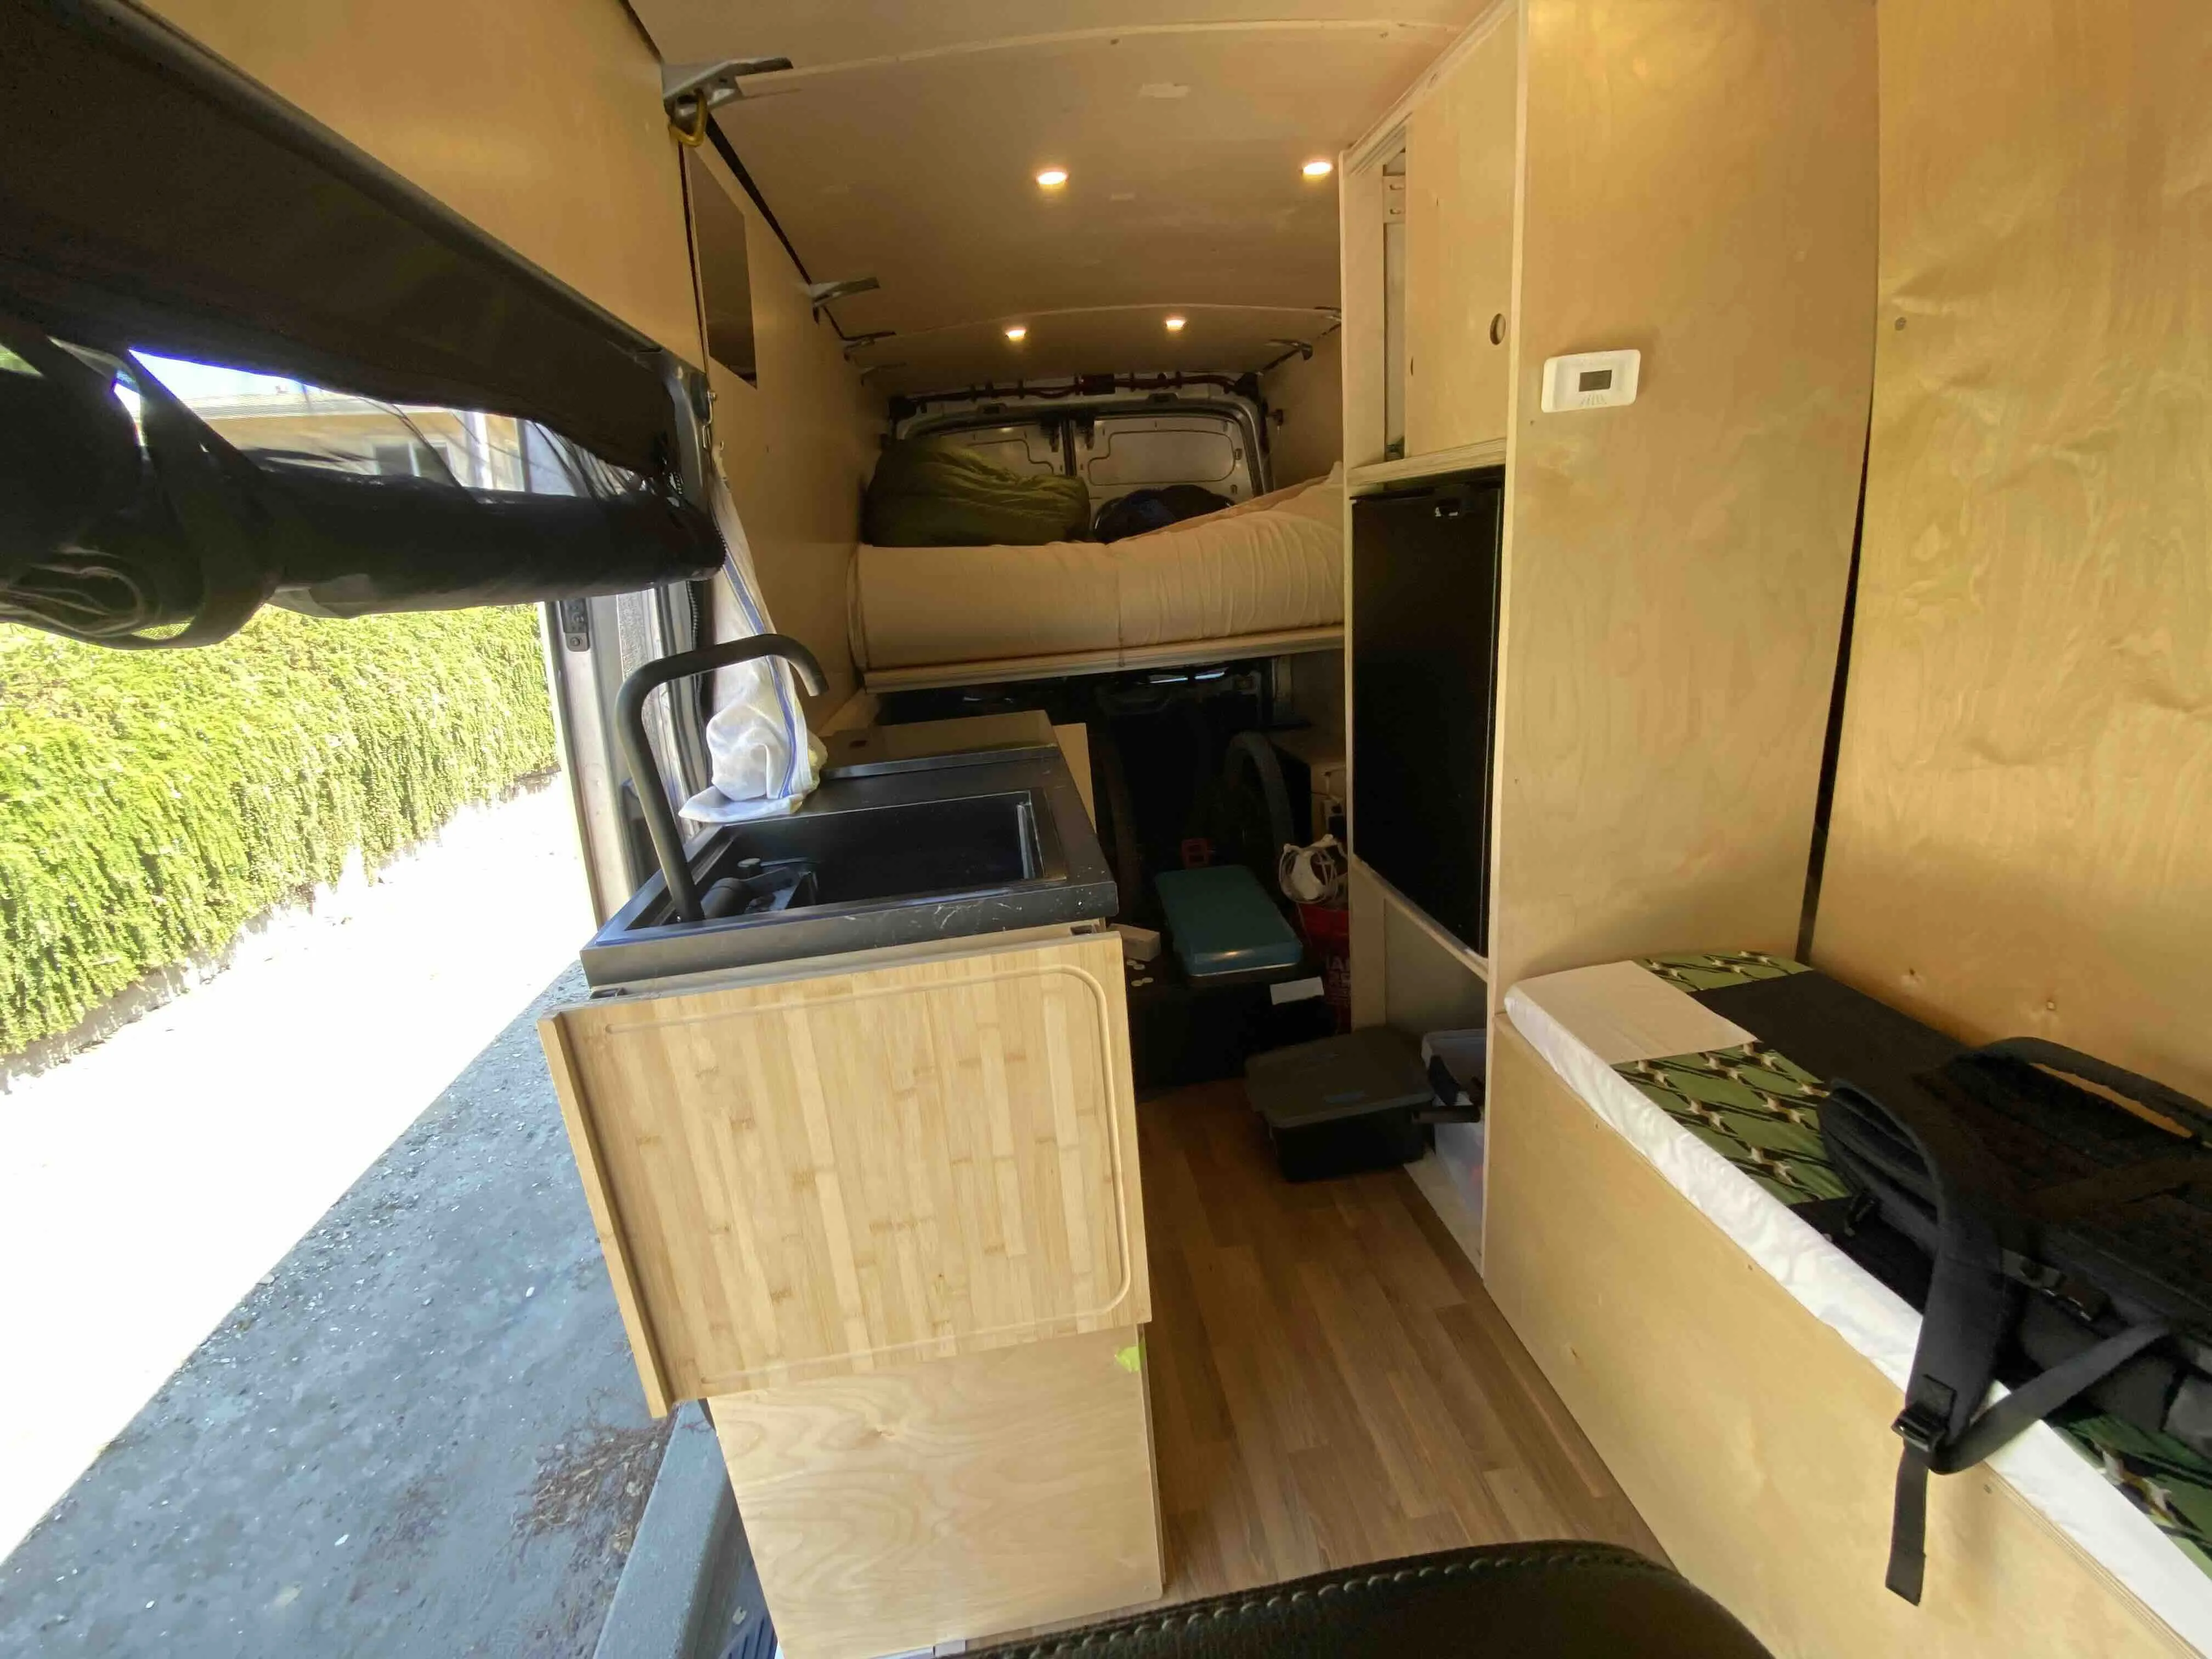
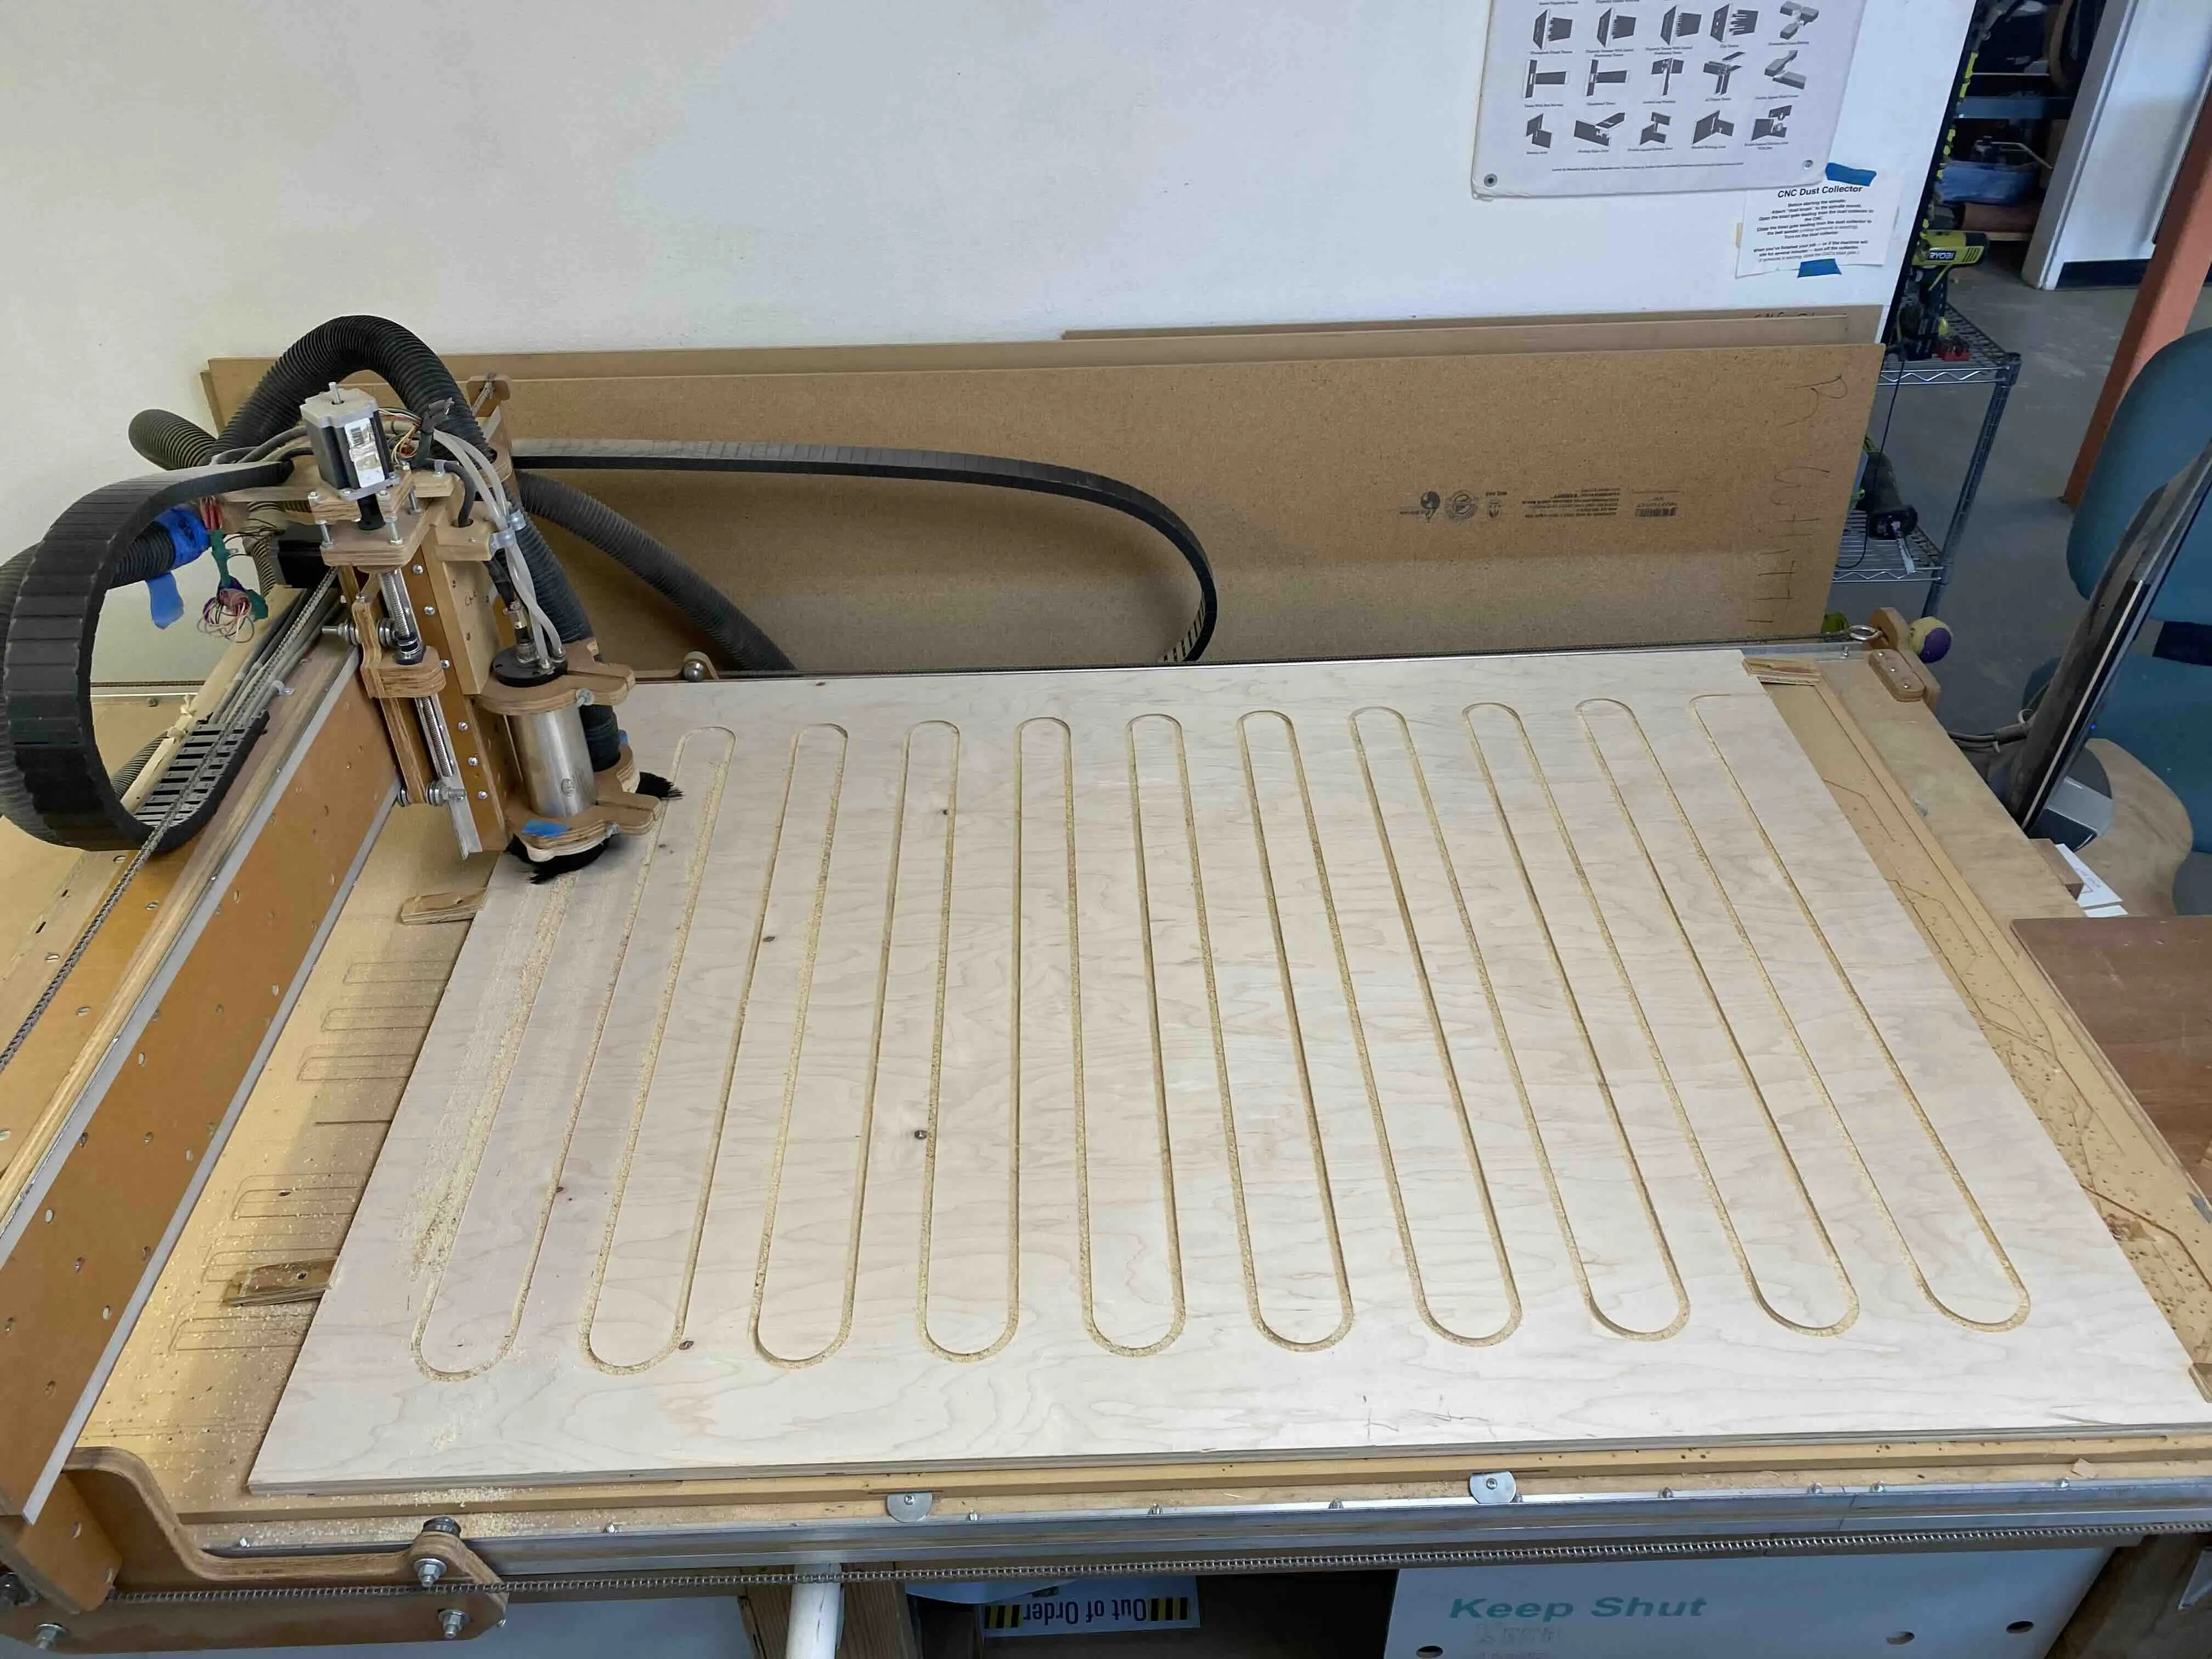
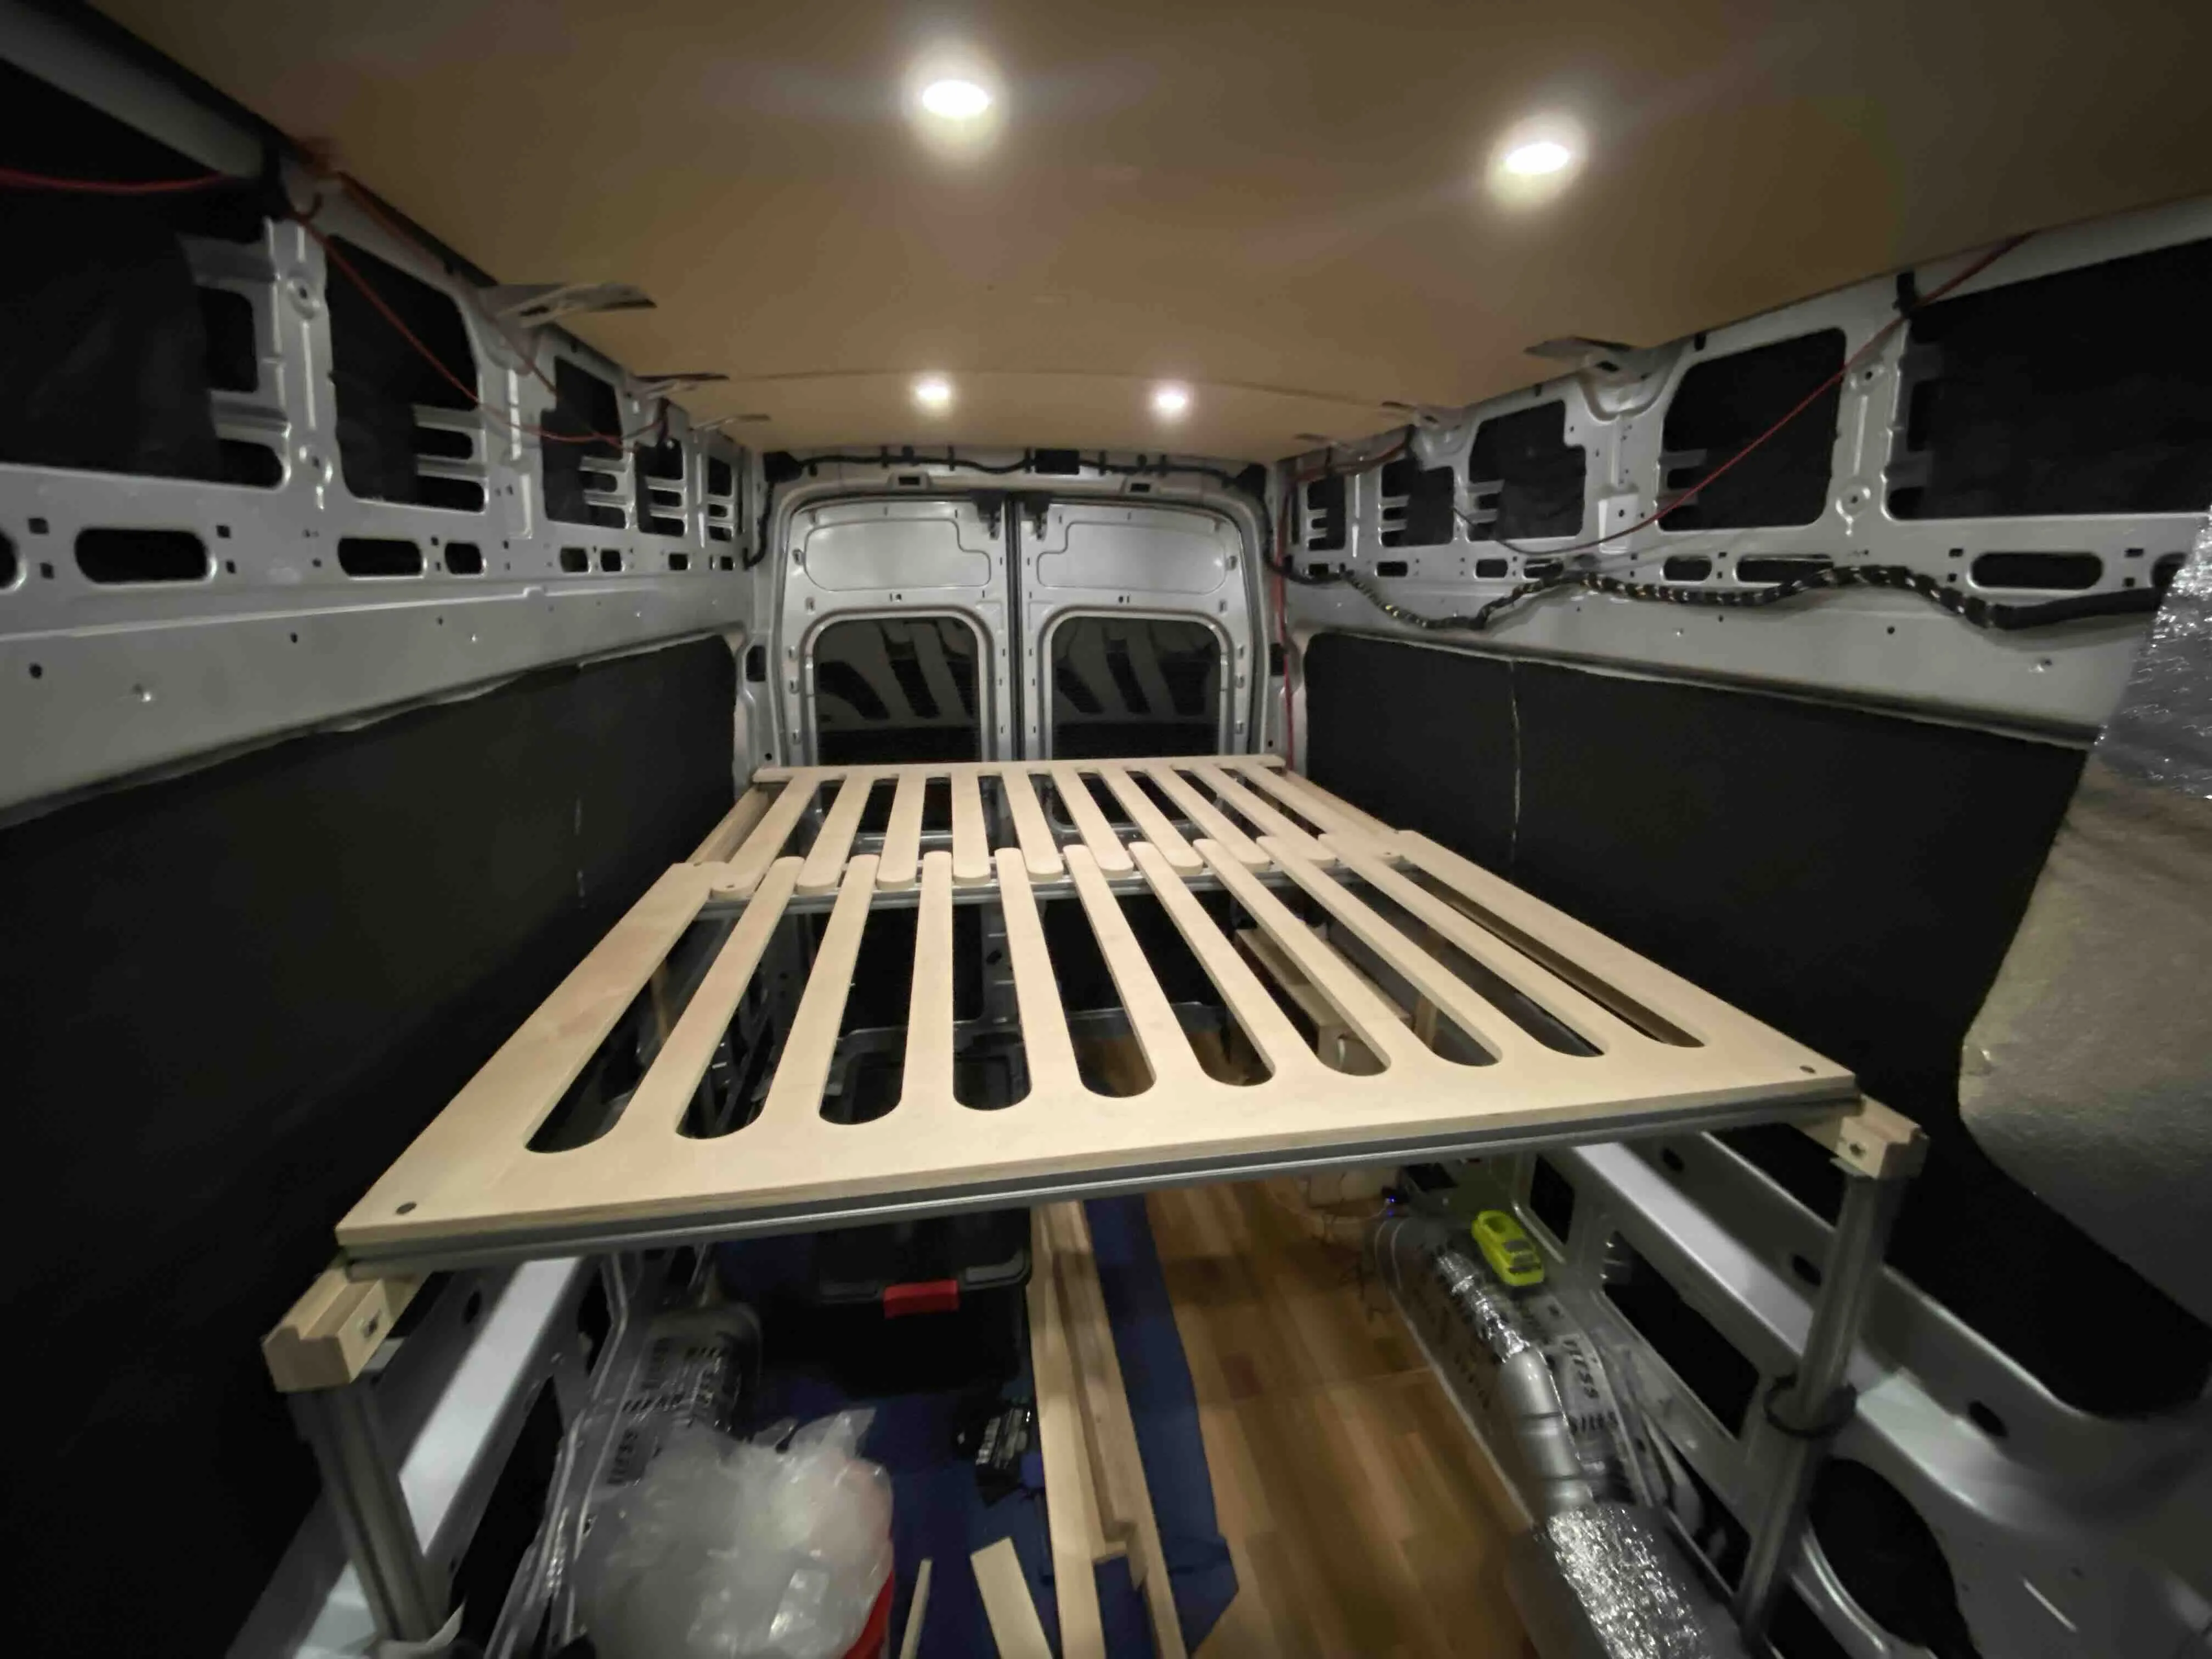
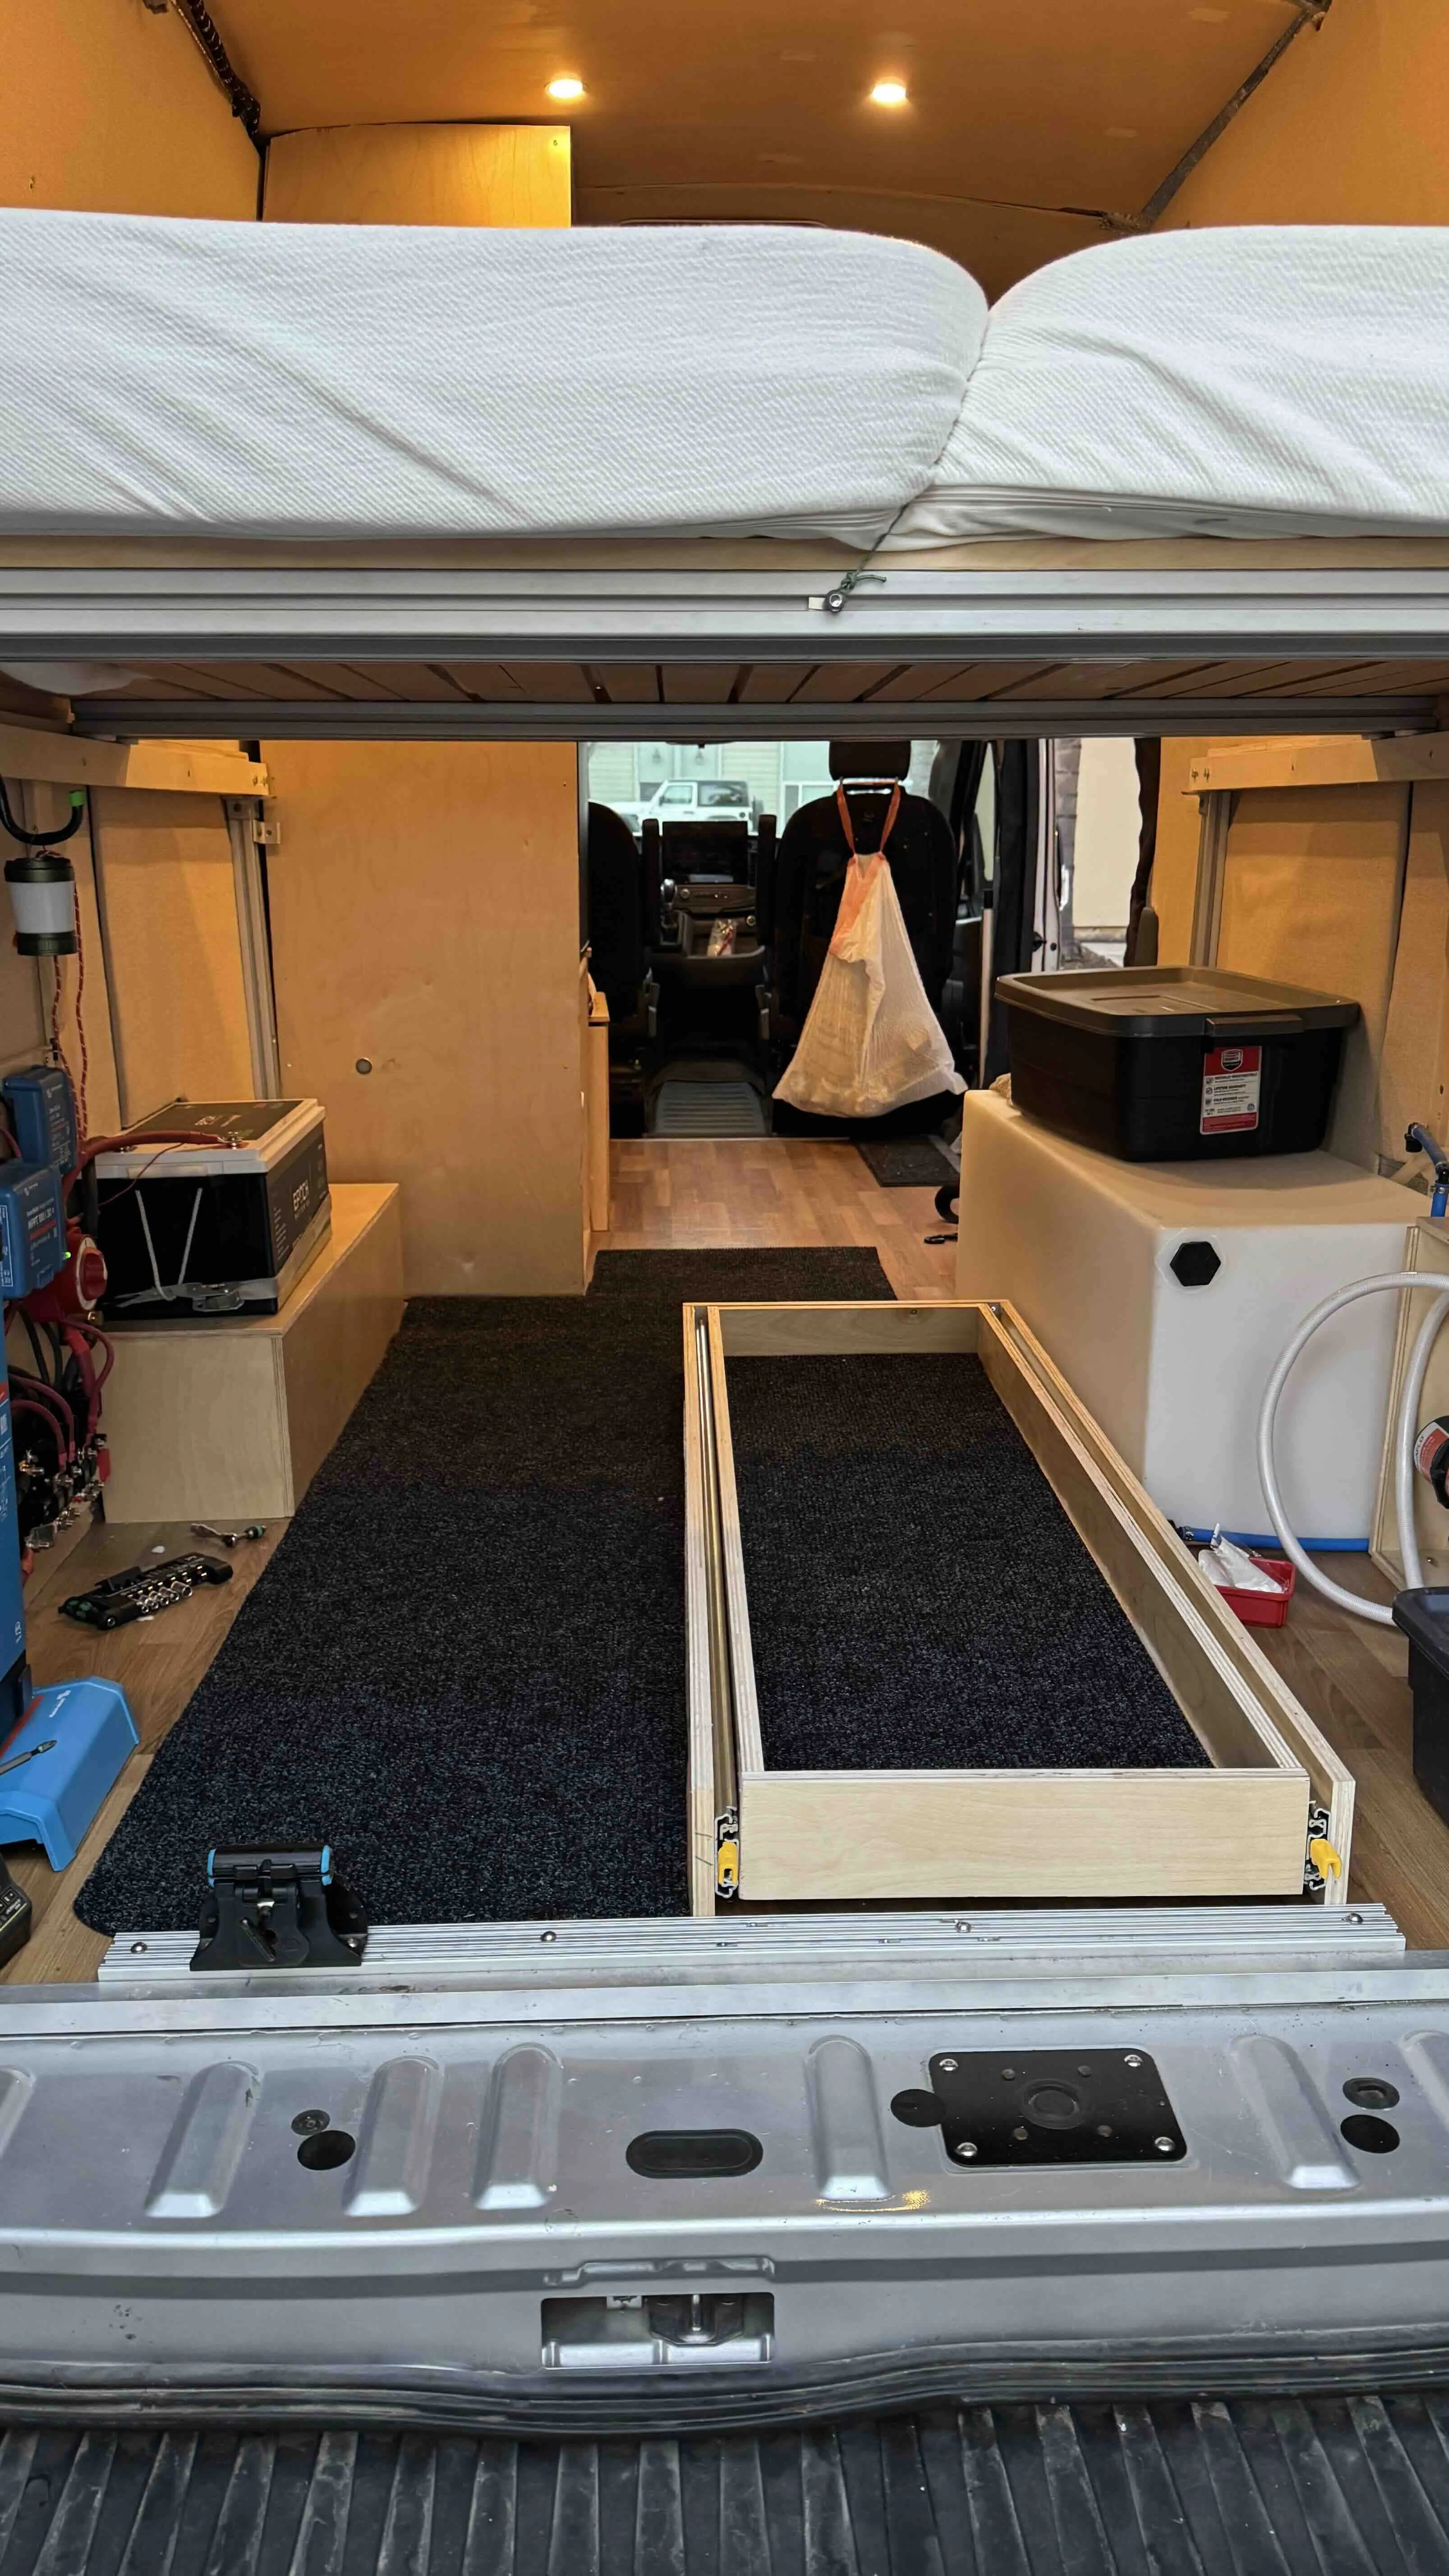
The bed frame is an interlocking comb made of 3/4" maple 5-layer plywood. I cut the frame with a CNC machine. Bed rails are build with triple stacked 0.5" baltic birch, with a sliding groove cut along the length. Support rails are 4040 extruded aluminum. The mattress is two 3" latex toppers from SleepOnLatex.com. I thought this would be a great idea, because they can fold in half. I did not realize, and obviously it's not listed on their website, but they weight 110 lbs together. Latex is extremely heavy, especially firm latex.
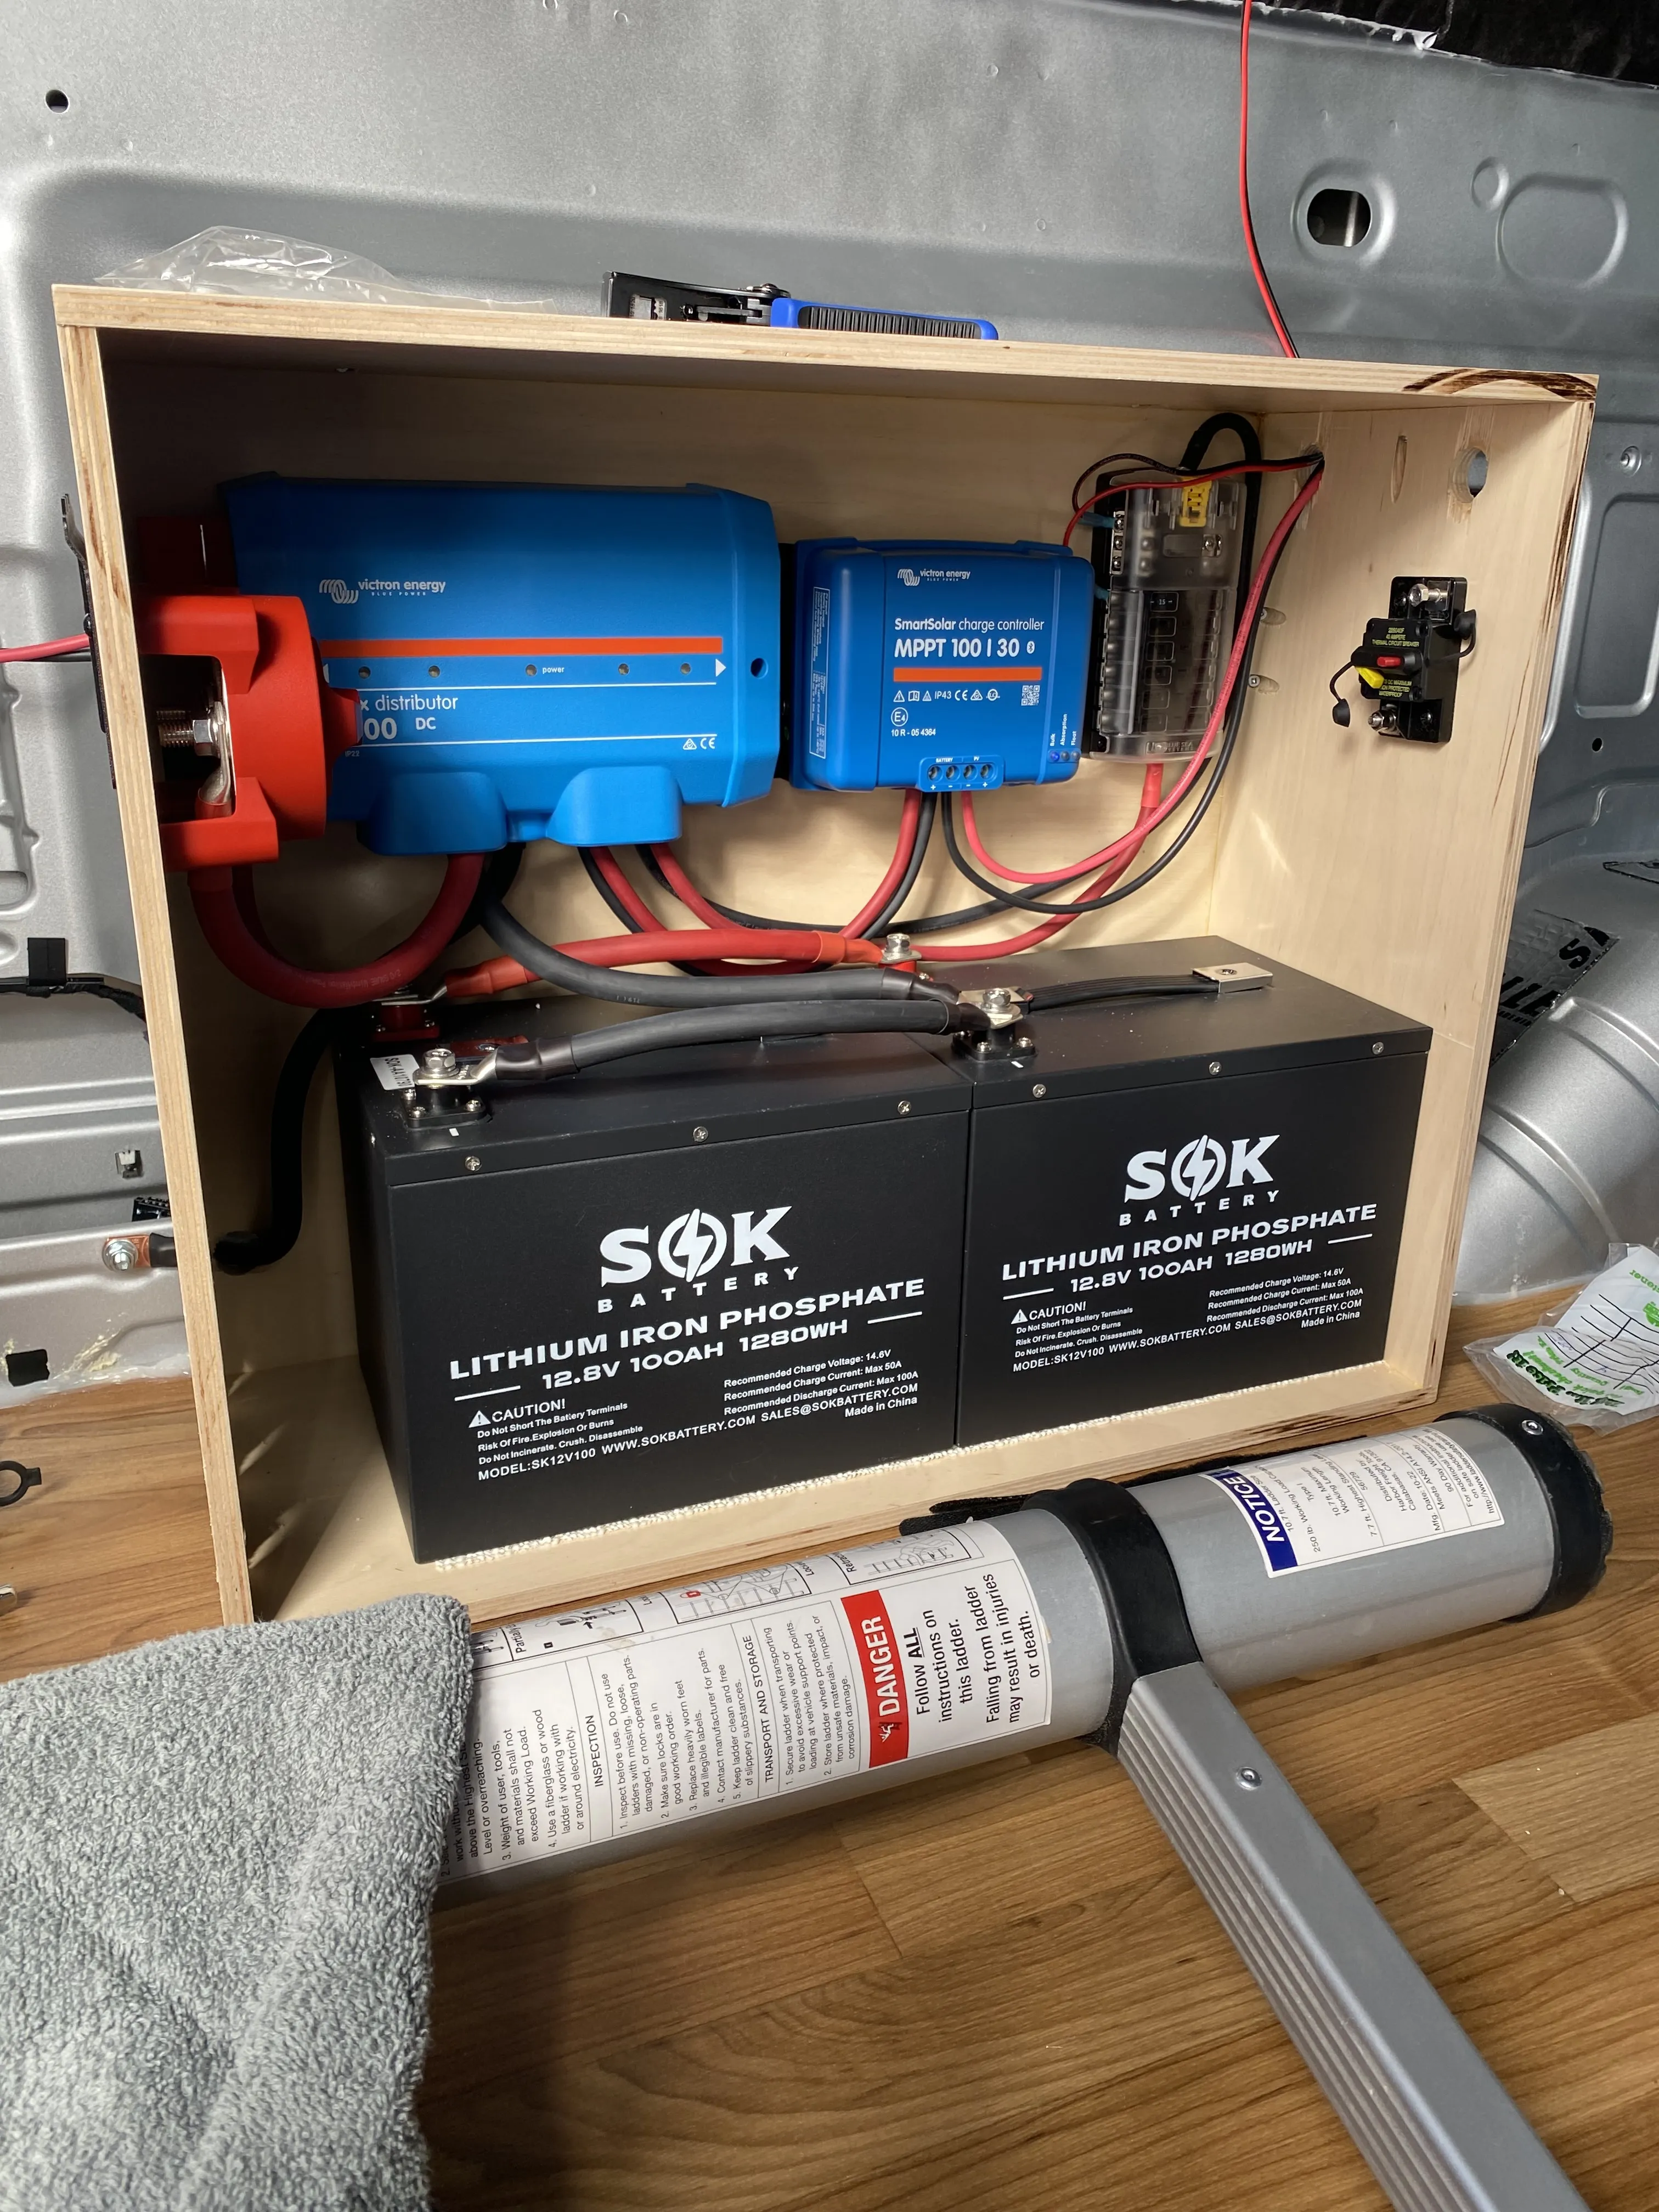
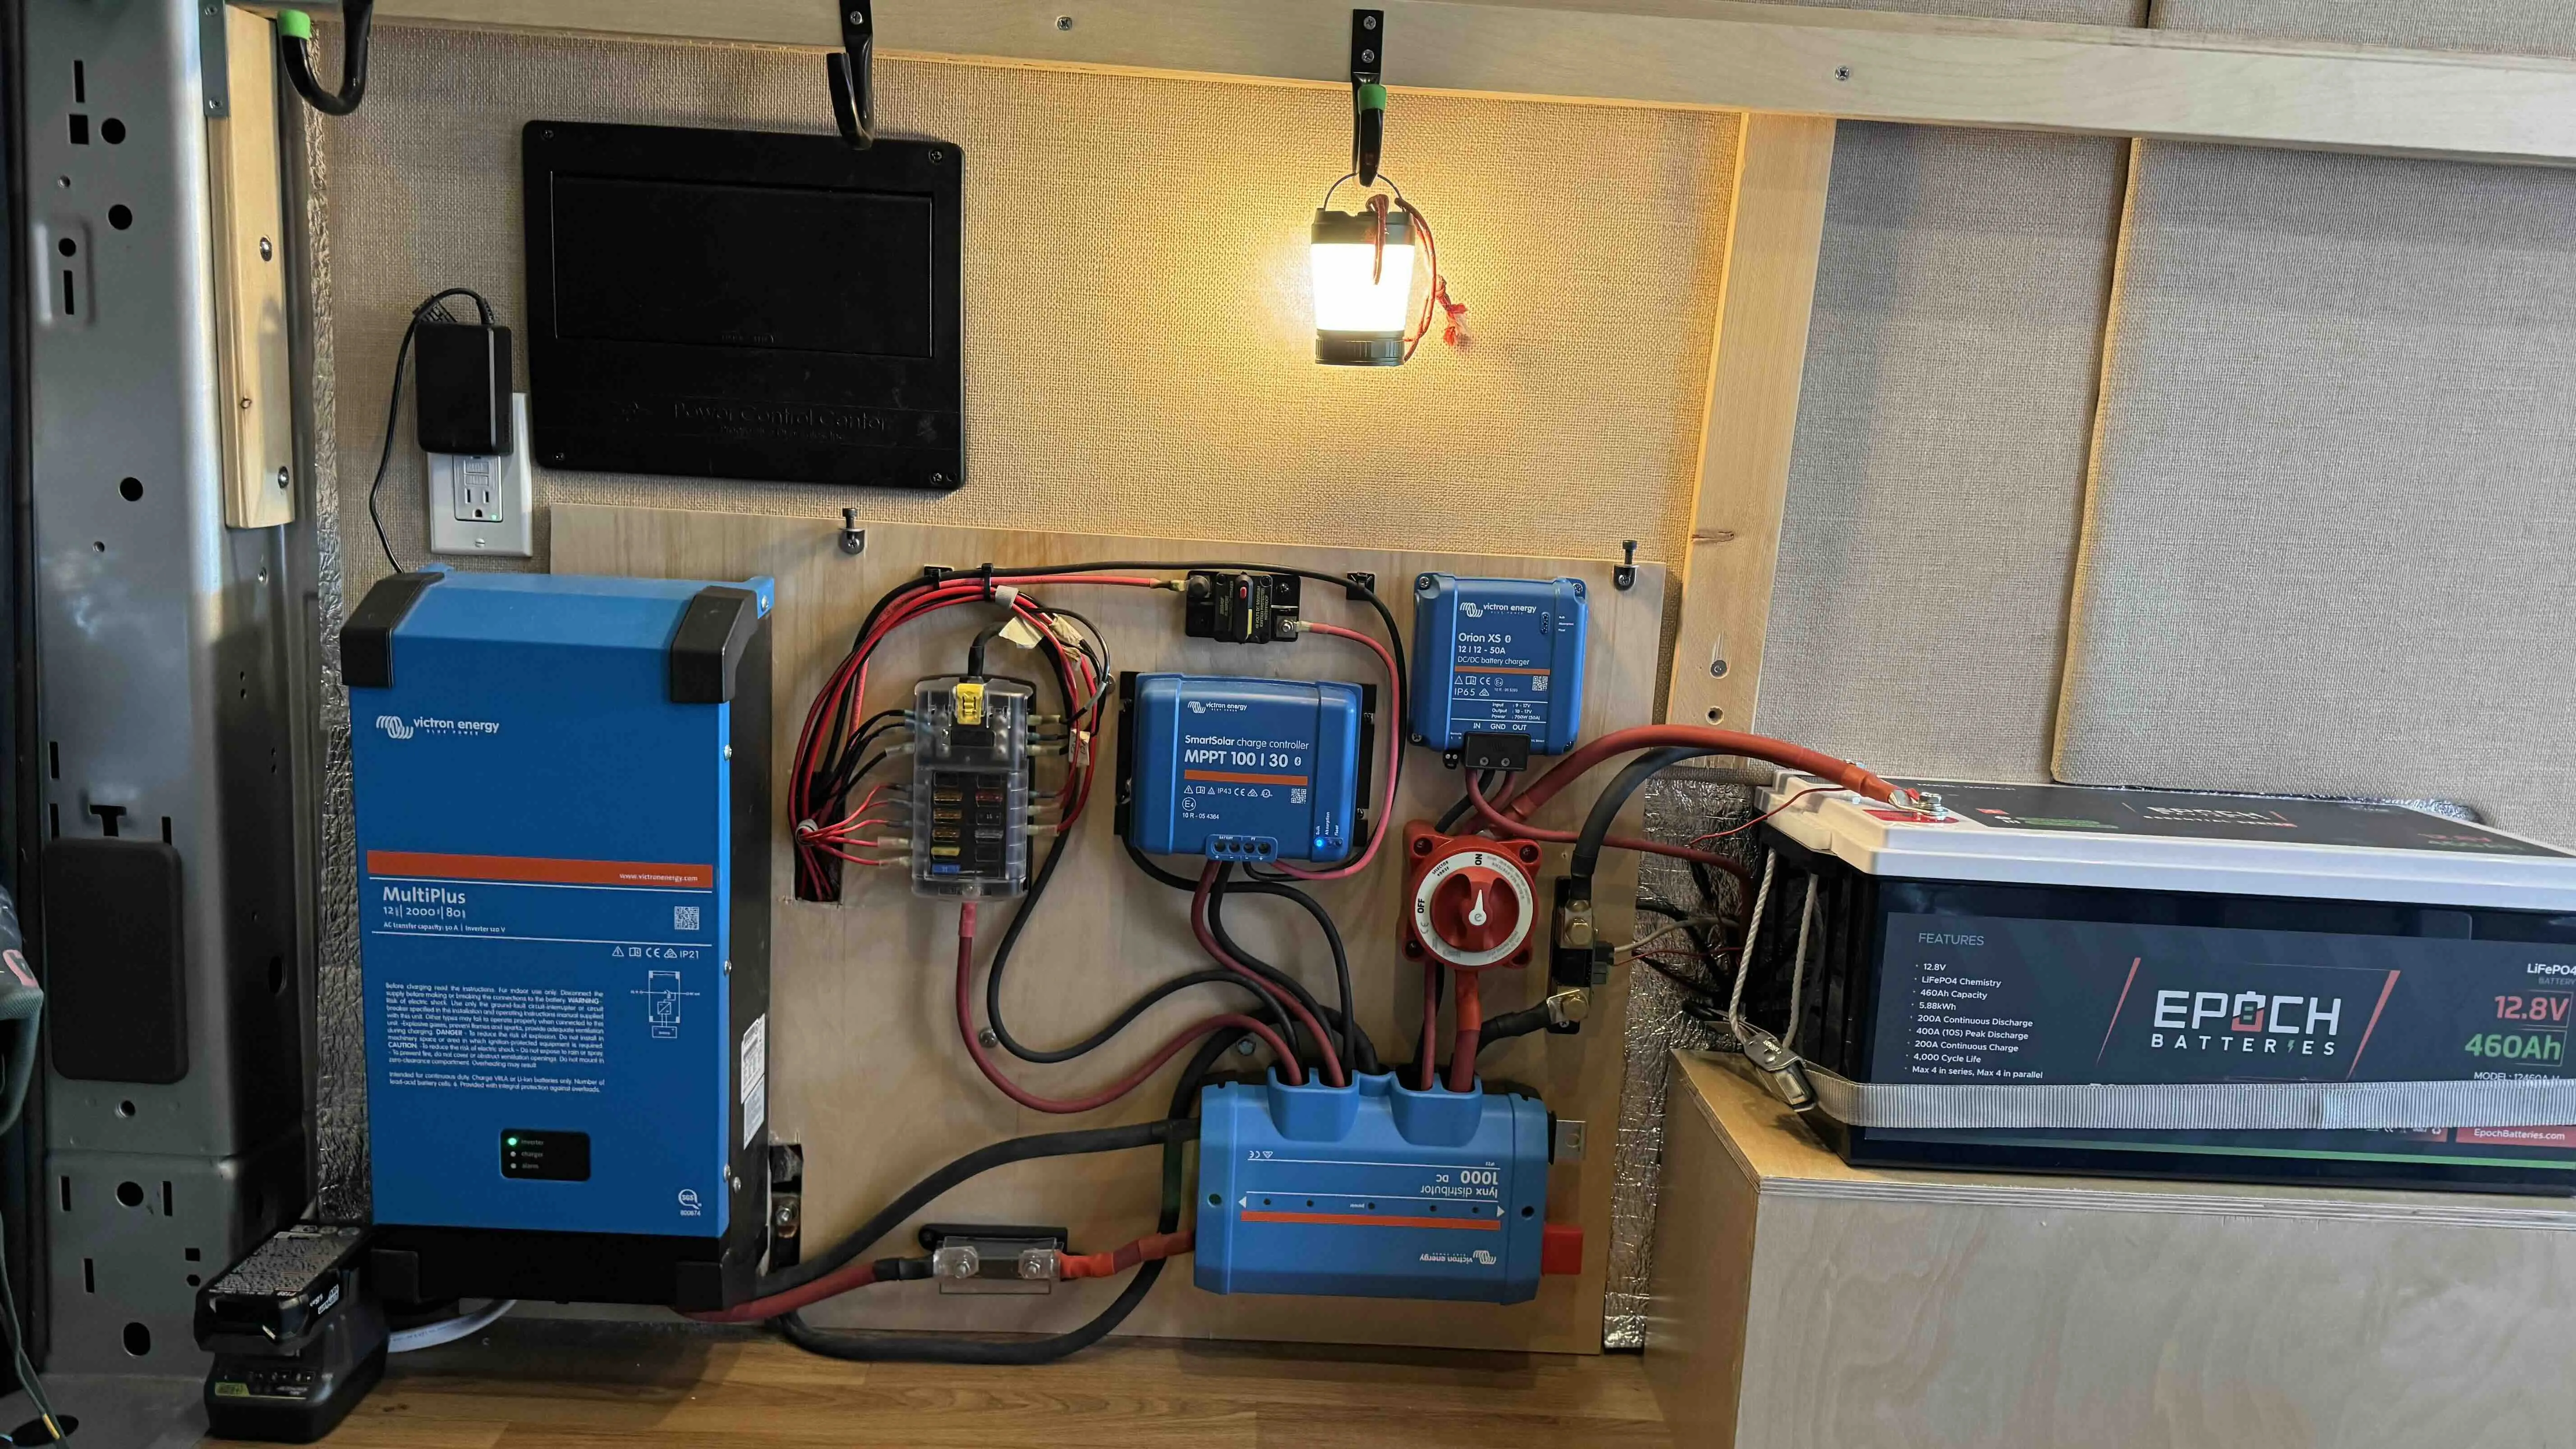
The electrical box has gone through two revisions. It's currently somewhat over-specced in preparation for an AC unit installation.
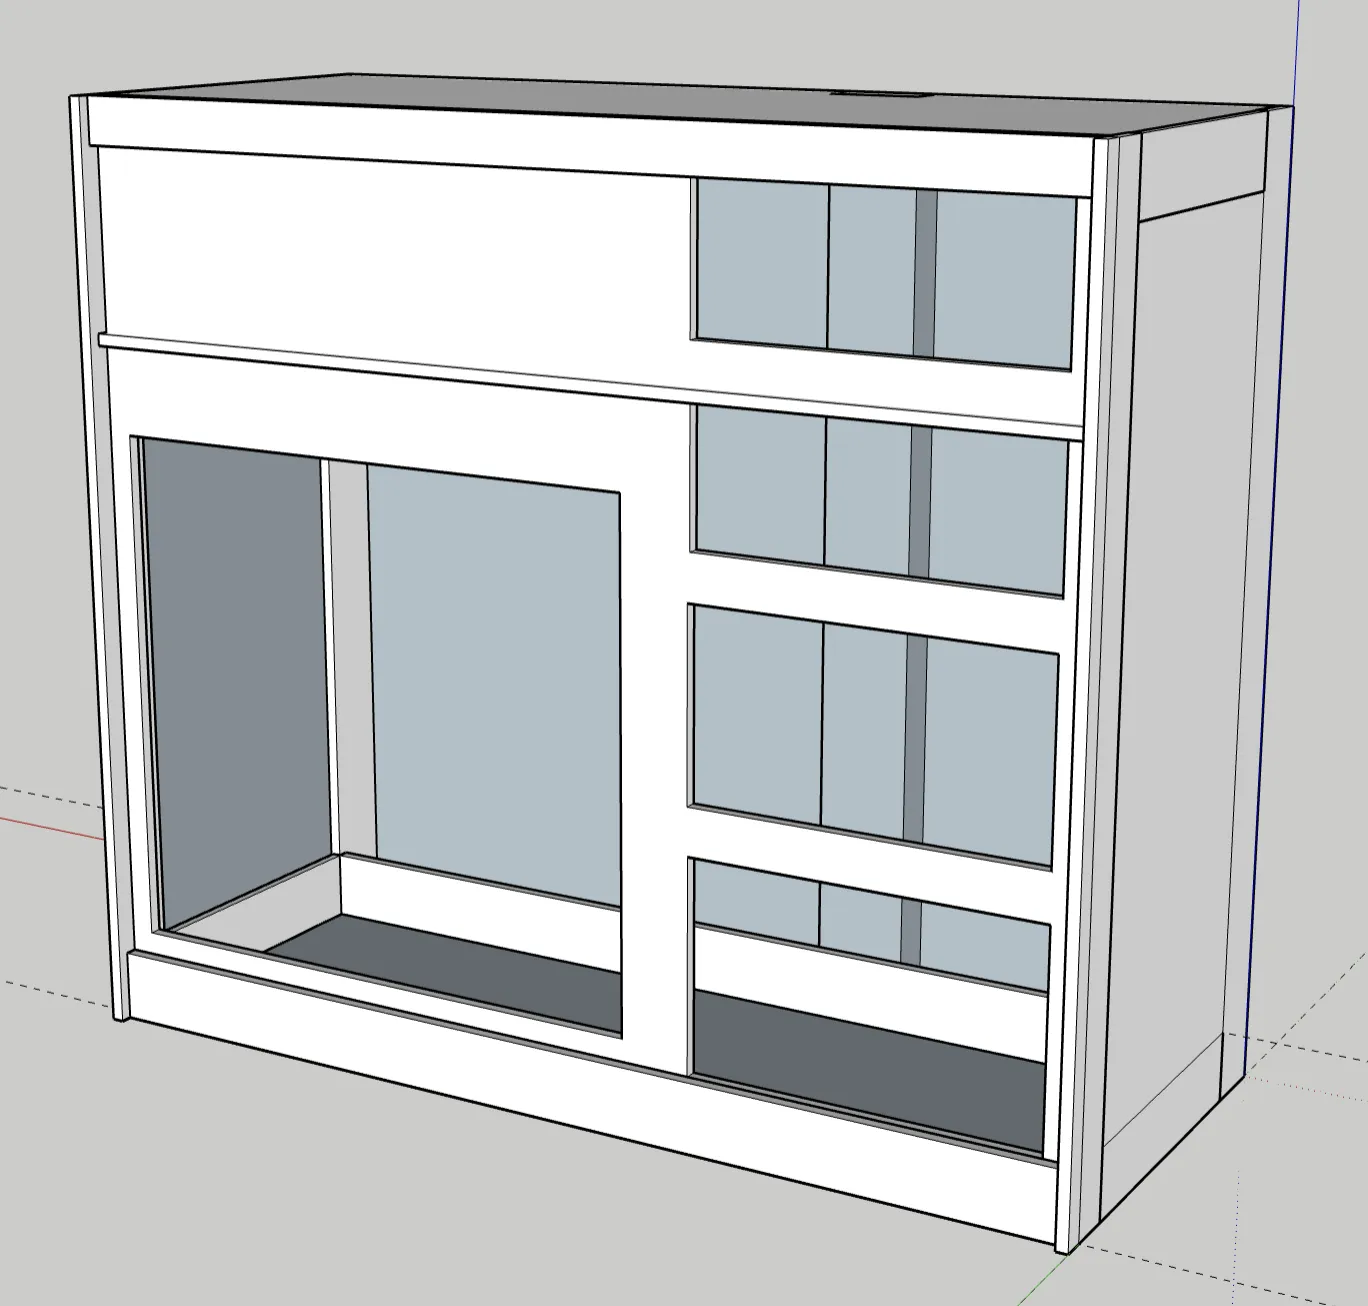
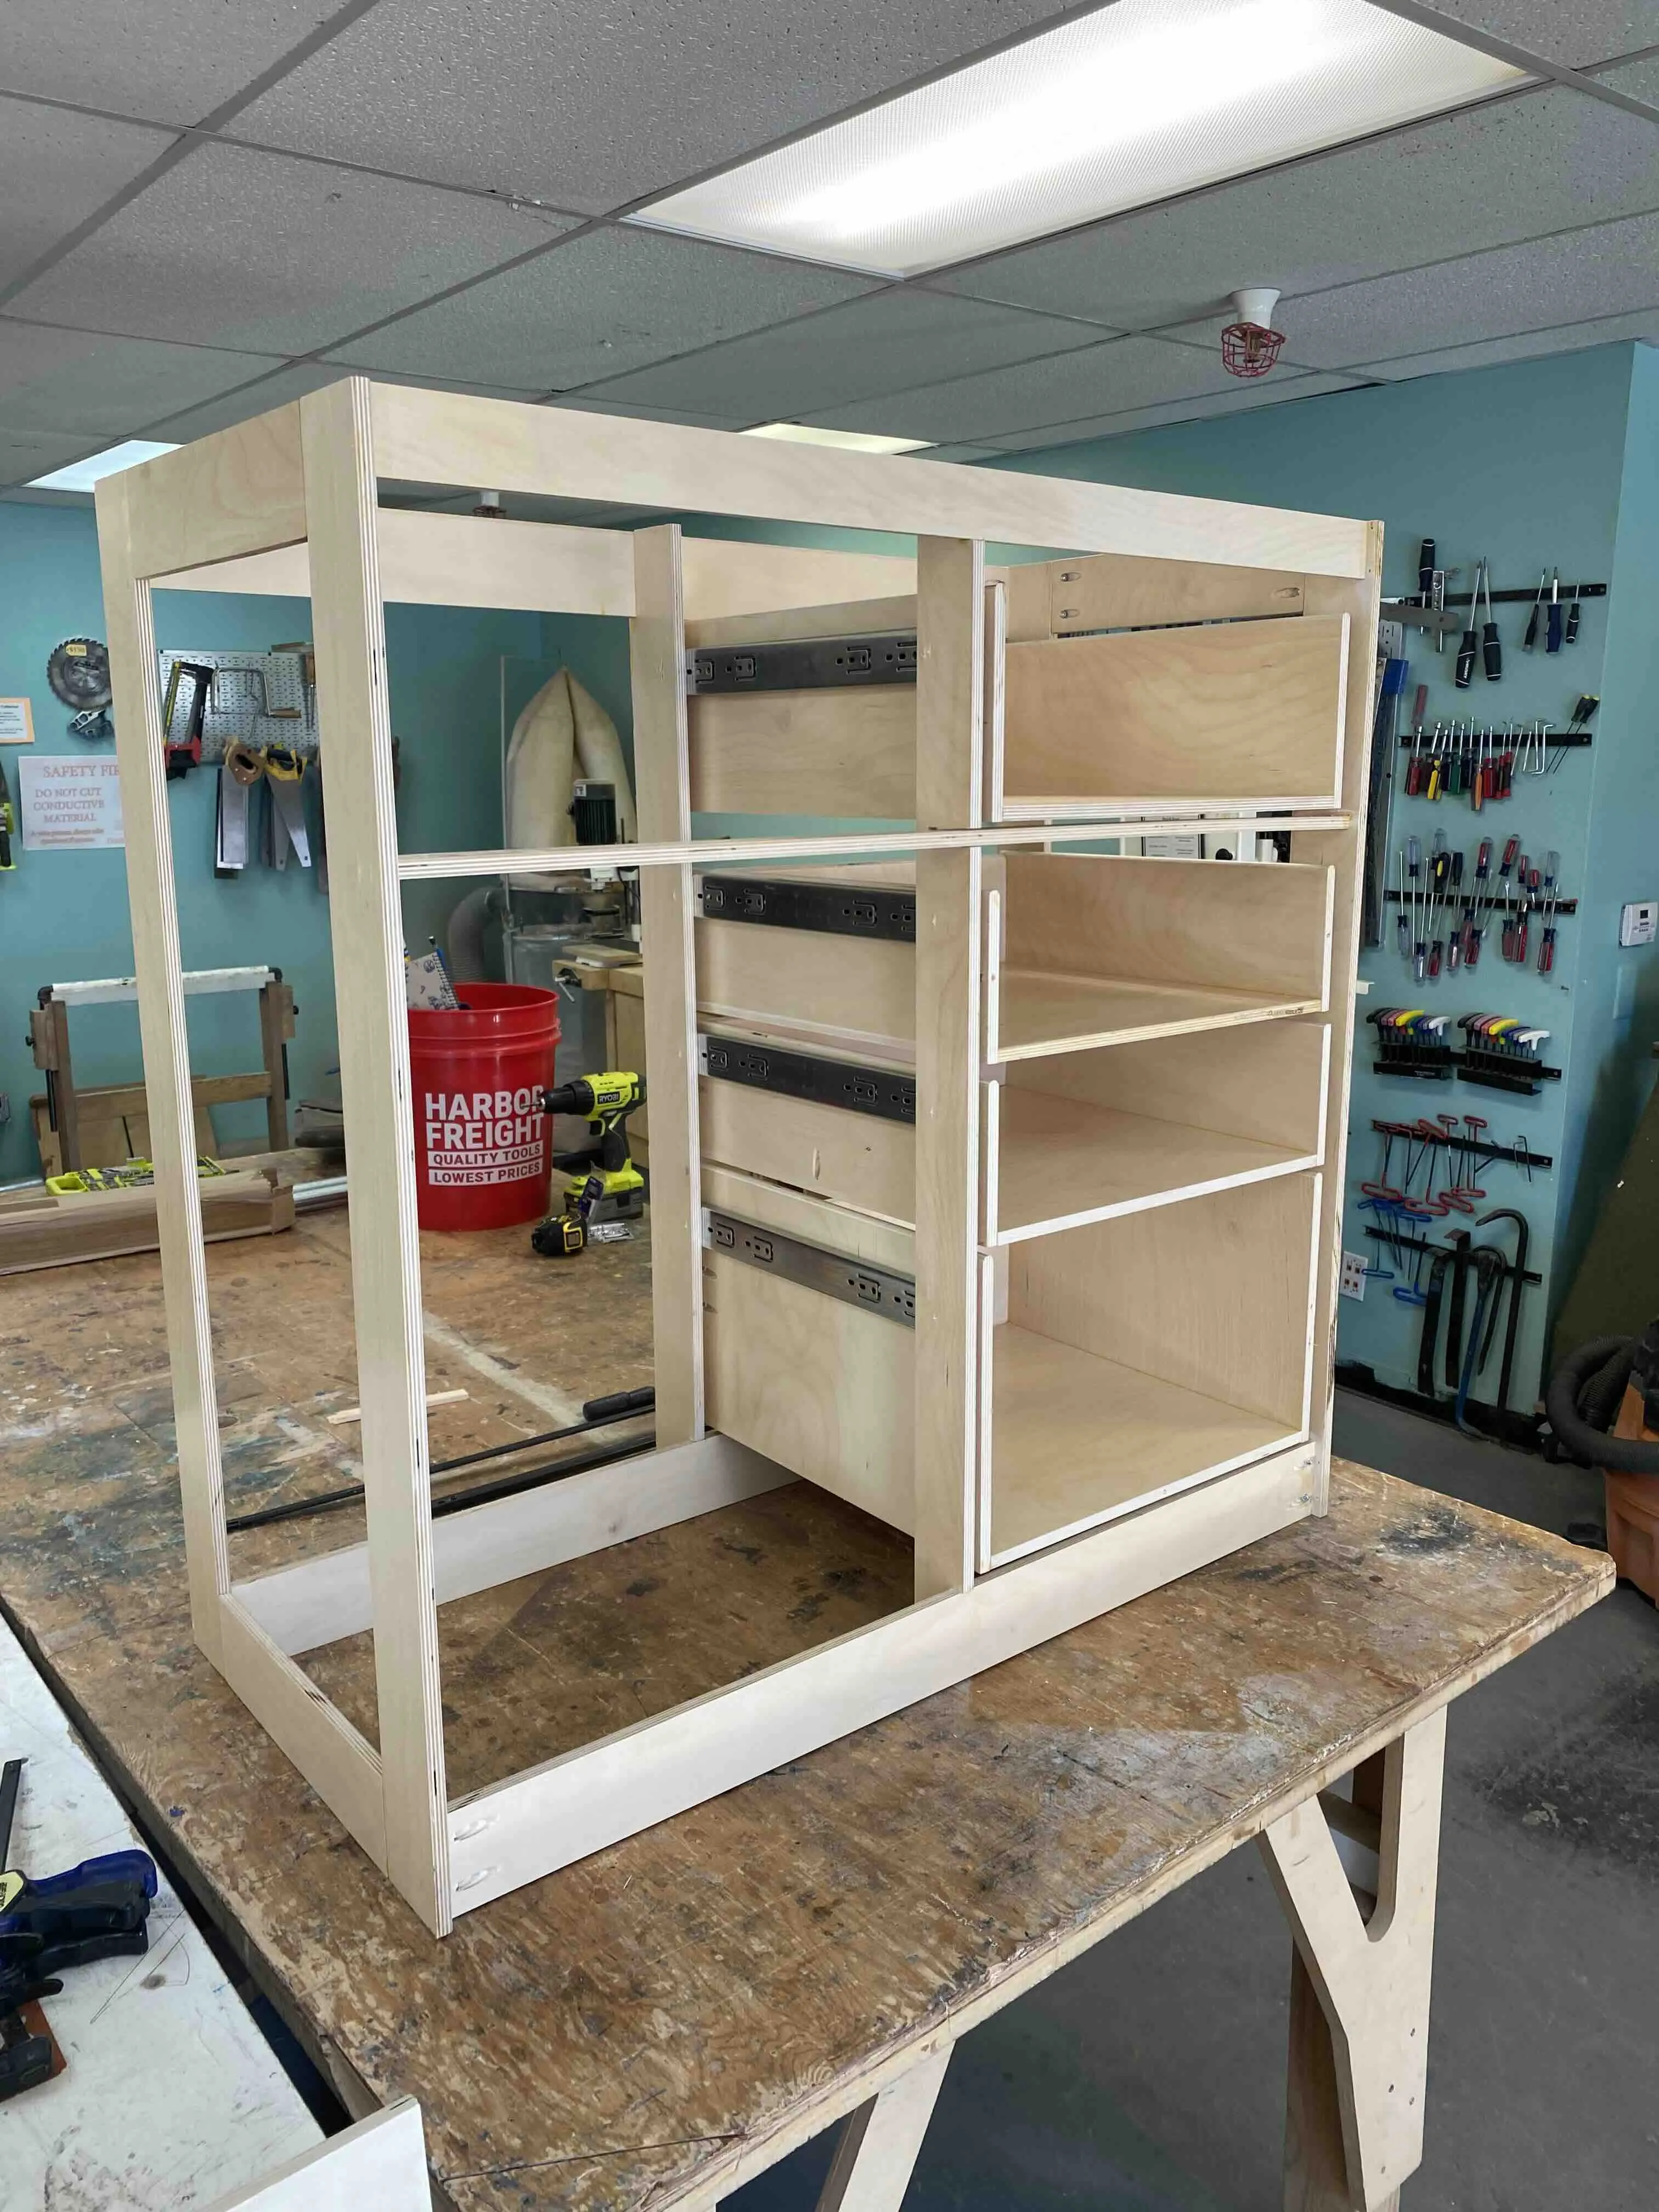
I decided to build the kitchen myself. This is something I regret, because building good drawers is extraordinarily difficult for woodworkers with limited skill.
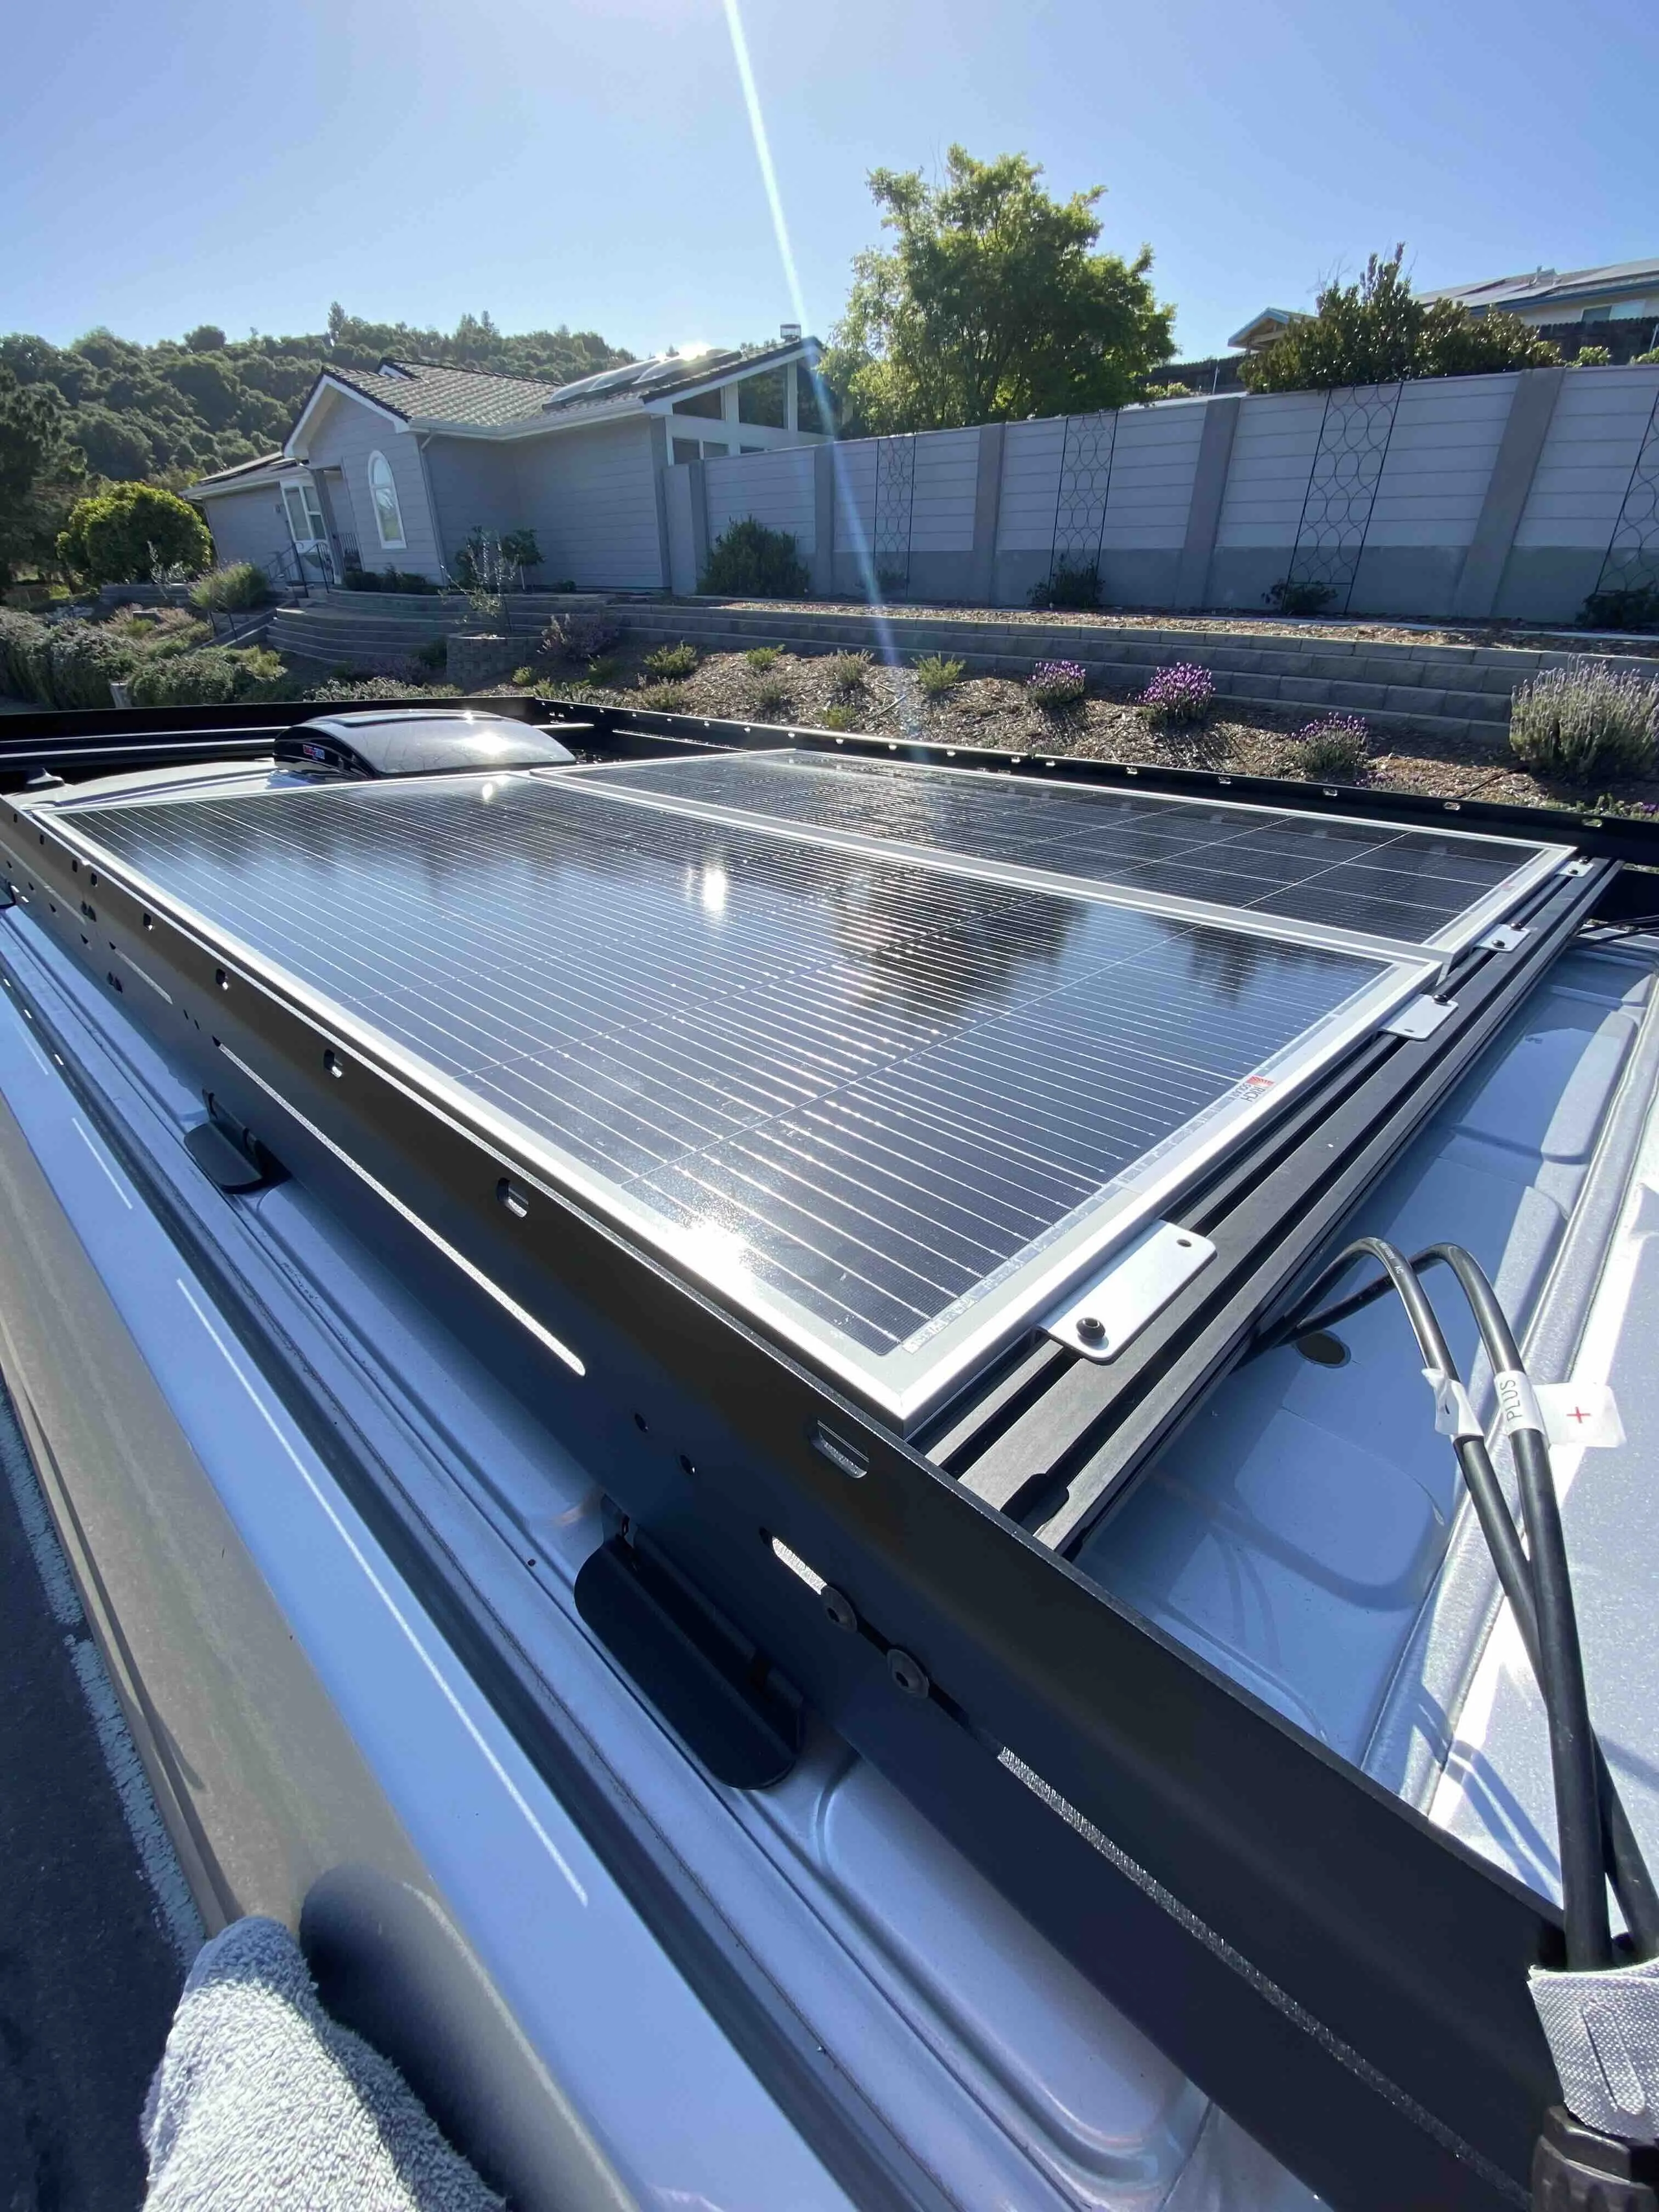
This journal is missing sections on ventilation, wall upholstery, and plumbing. For the ventilation, I have a maxxair fan and I had one rear window replaced with an awning window by a local autoglass shop. I think it cost about $100 for them to do this though I don't completely recall, and it meant I didn't need to cut a hole in the wall for an arctic tern window. Highly recommend this. For the wall upholstery, https://rushinupholsterysupply.com had a great deals on duramax and I upholstered the wall panels as part of the re-insulation project. This has dramatically cut down on rattles and noise, but it's still not quiet in there while driving.